Rather than planning ahead for all my projects in advance like I used to, I decided to just pick what fabric I want to work with when I have the urge to sew, and then pick a pattern. Last week I selected this Telio & Cie Viscose Linen Silky Noil in Charcoal and Nani Iro Lyocell in
Fuccura Teal from Stitch and decided they should be Fringe tops.


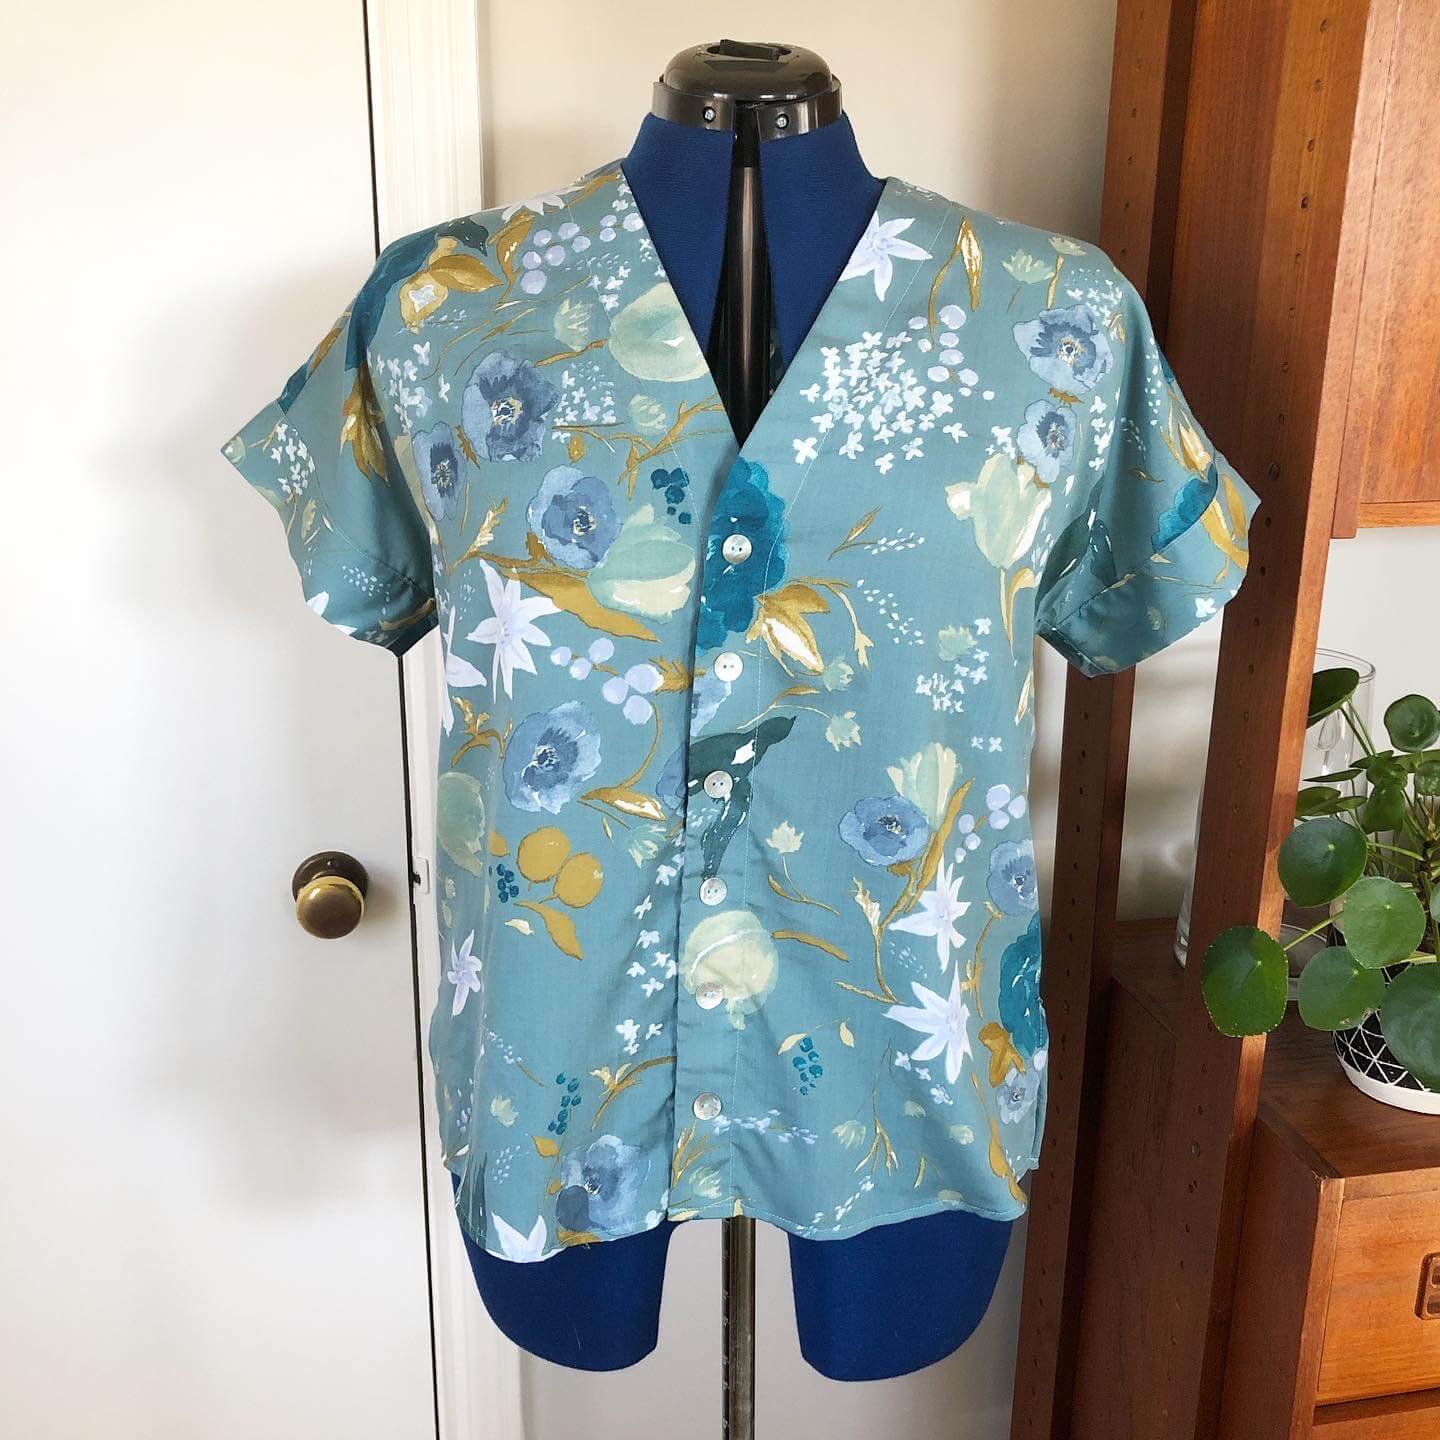
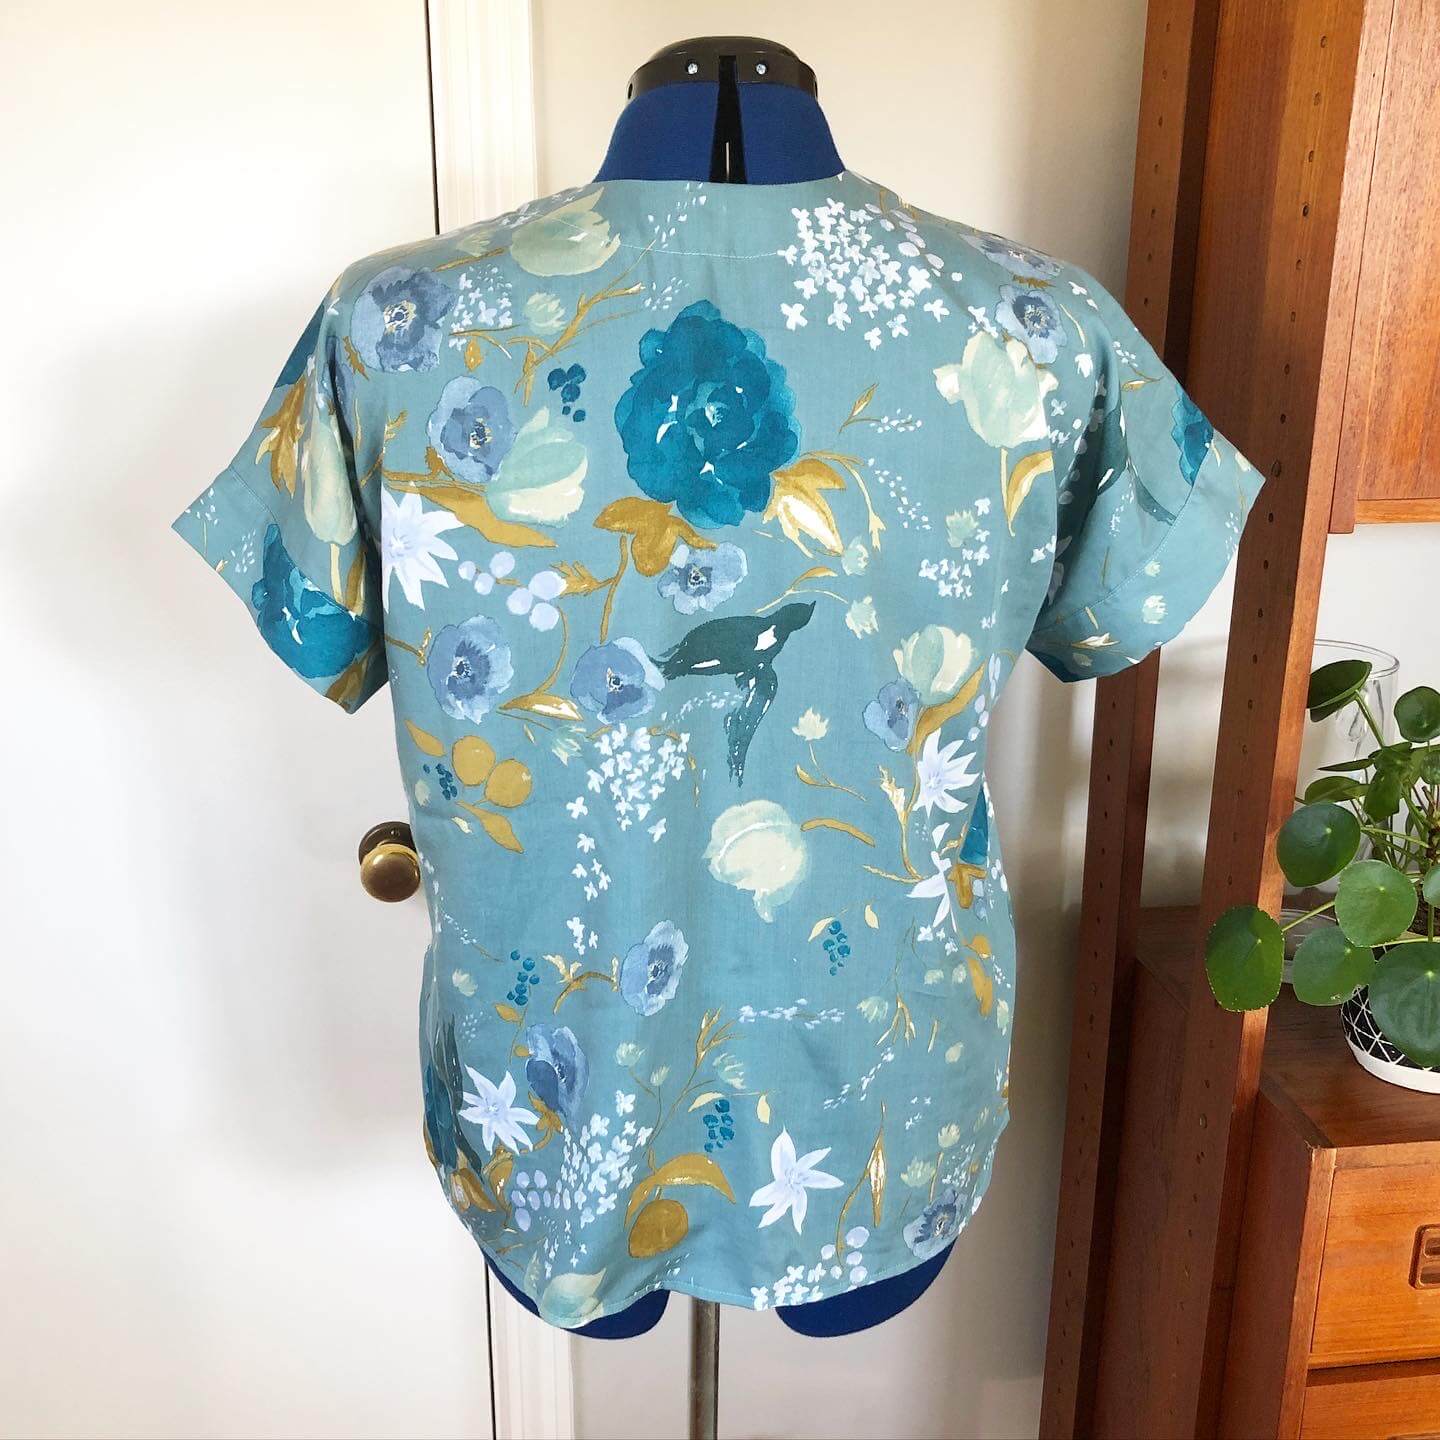
If the Nani Iro fabric looks familiar, it’s because it’s the same print as the first Fringe I made with lawn and never wear. I’m both a creature of habit, and I loved that fabric so much I’m sad I don’t like the original Fringe. The lyocell is a rayon and drapes much better than the lawn. I’m just not a huge lawn fan!
The tutorial on Chalk & Notch recommends 1.5 yds of 55″ wide fabric. I only purchased 1.25 yards at 50″ wide of the silky noil since I originally intended to make a Springfield with it, and 1.5 yards of the Nani Iro at 45″ wide. I was still able to squeeze the pieces out of both cuts. I did have to cut out one of the fronts the silky noil cross-grain, but the stretch and drape seemed so similar I think it should be fine (fingers crossed).
While the last Fringe Top I made ended up being too cropped (serves me right for blindly following the tutorial without measuring or muslining), I still wear it all the time. It works especially well tucked into a pencil skirt or over my highest rise jeans and shorts.
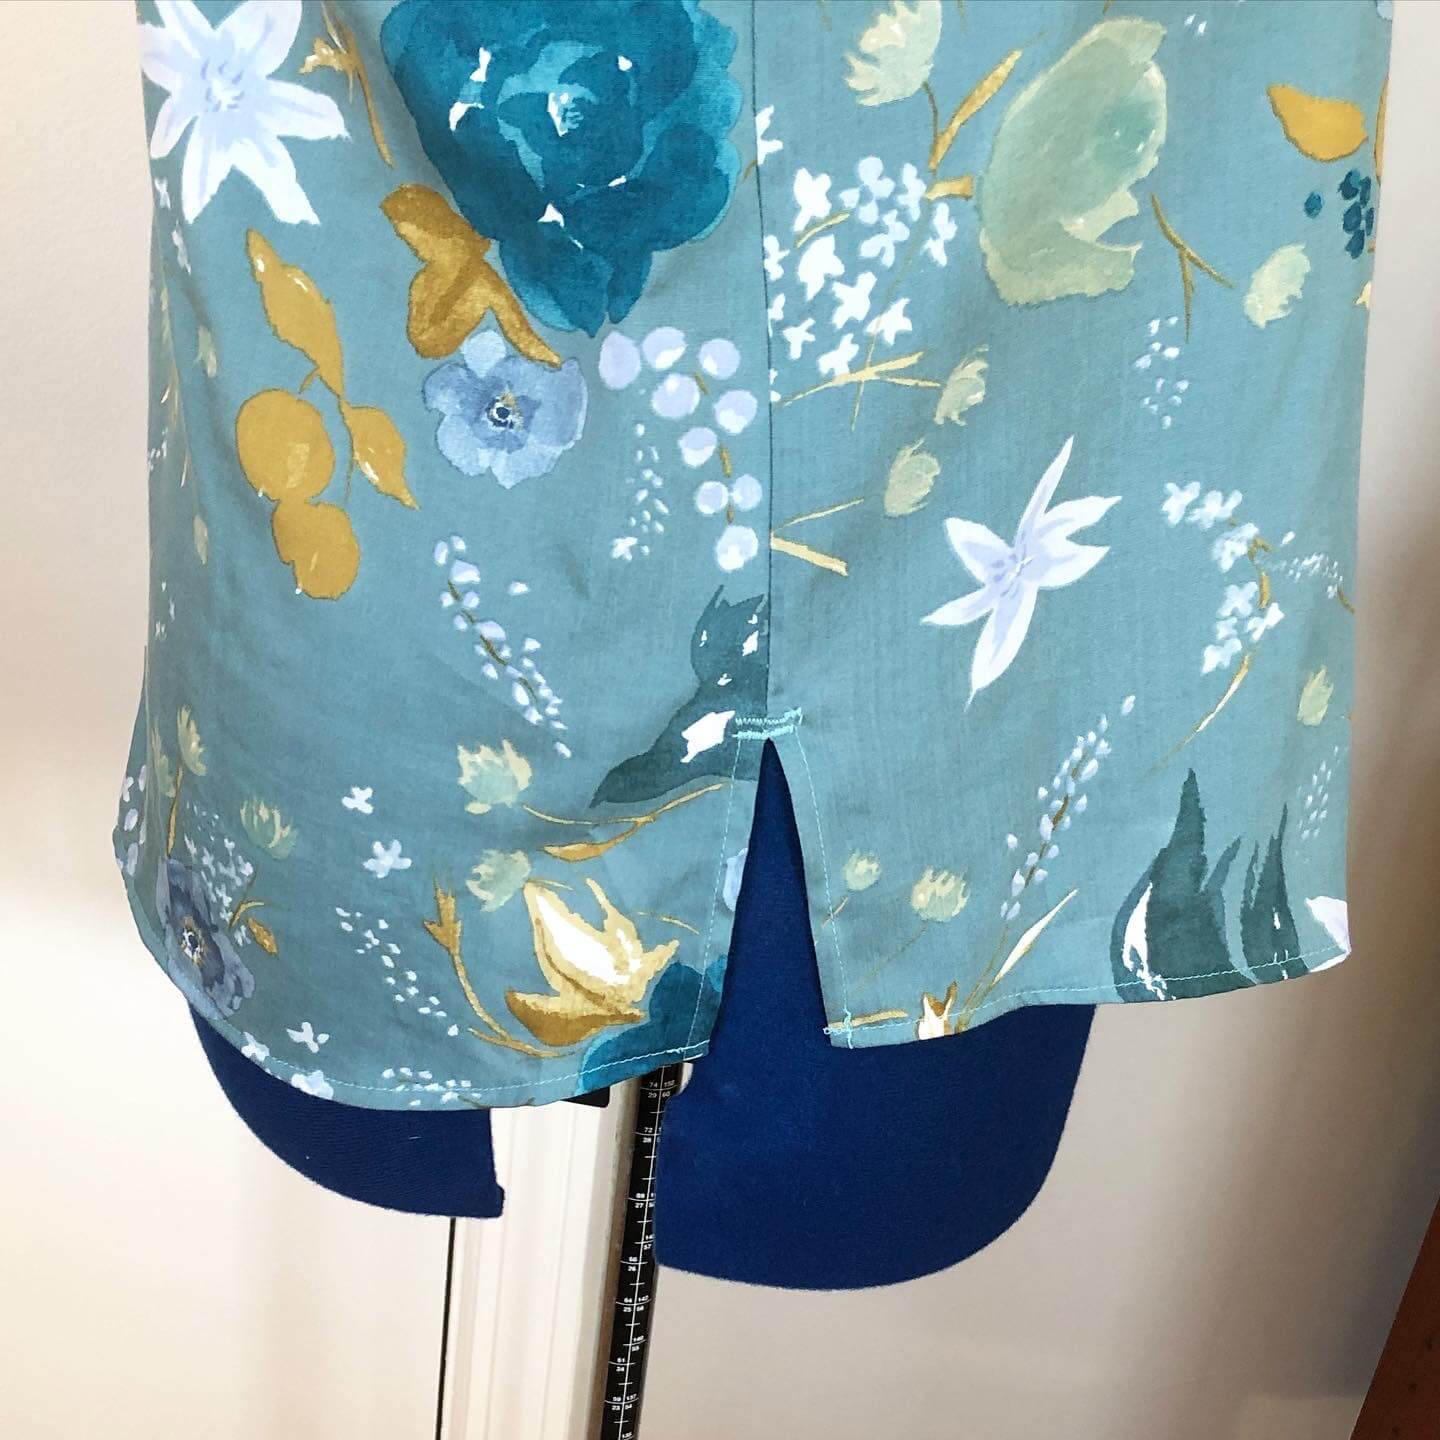
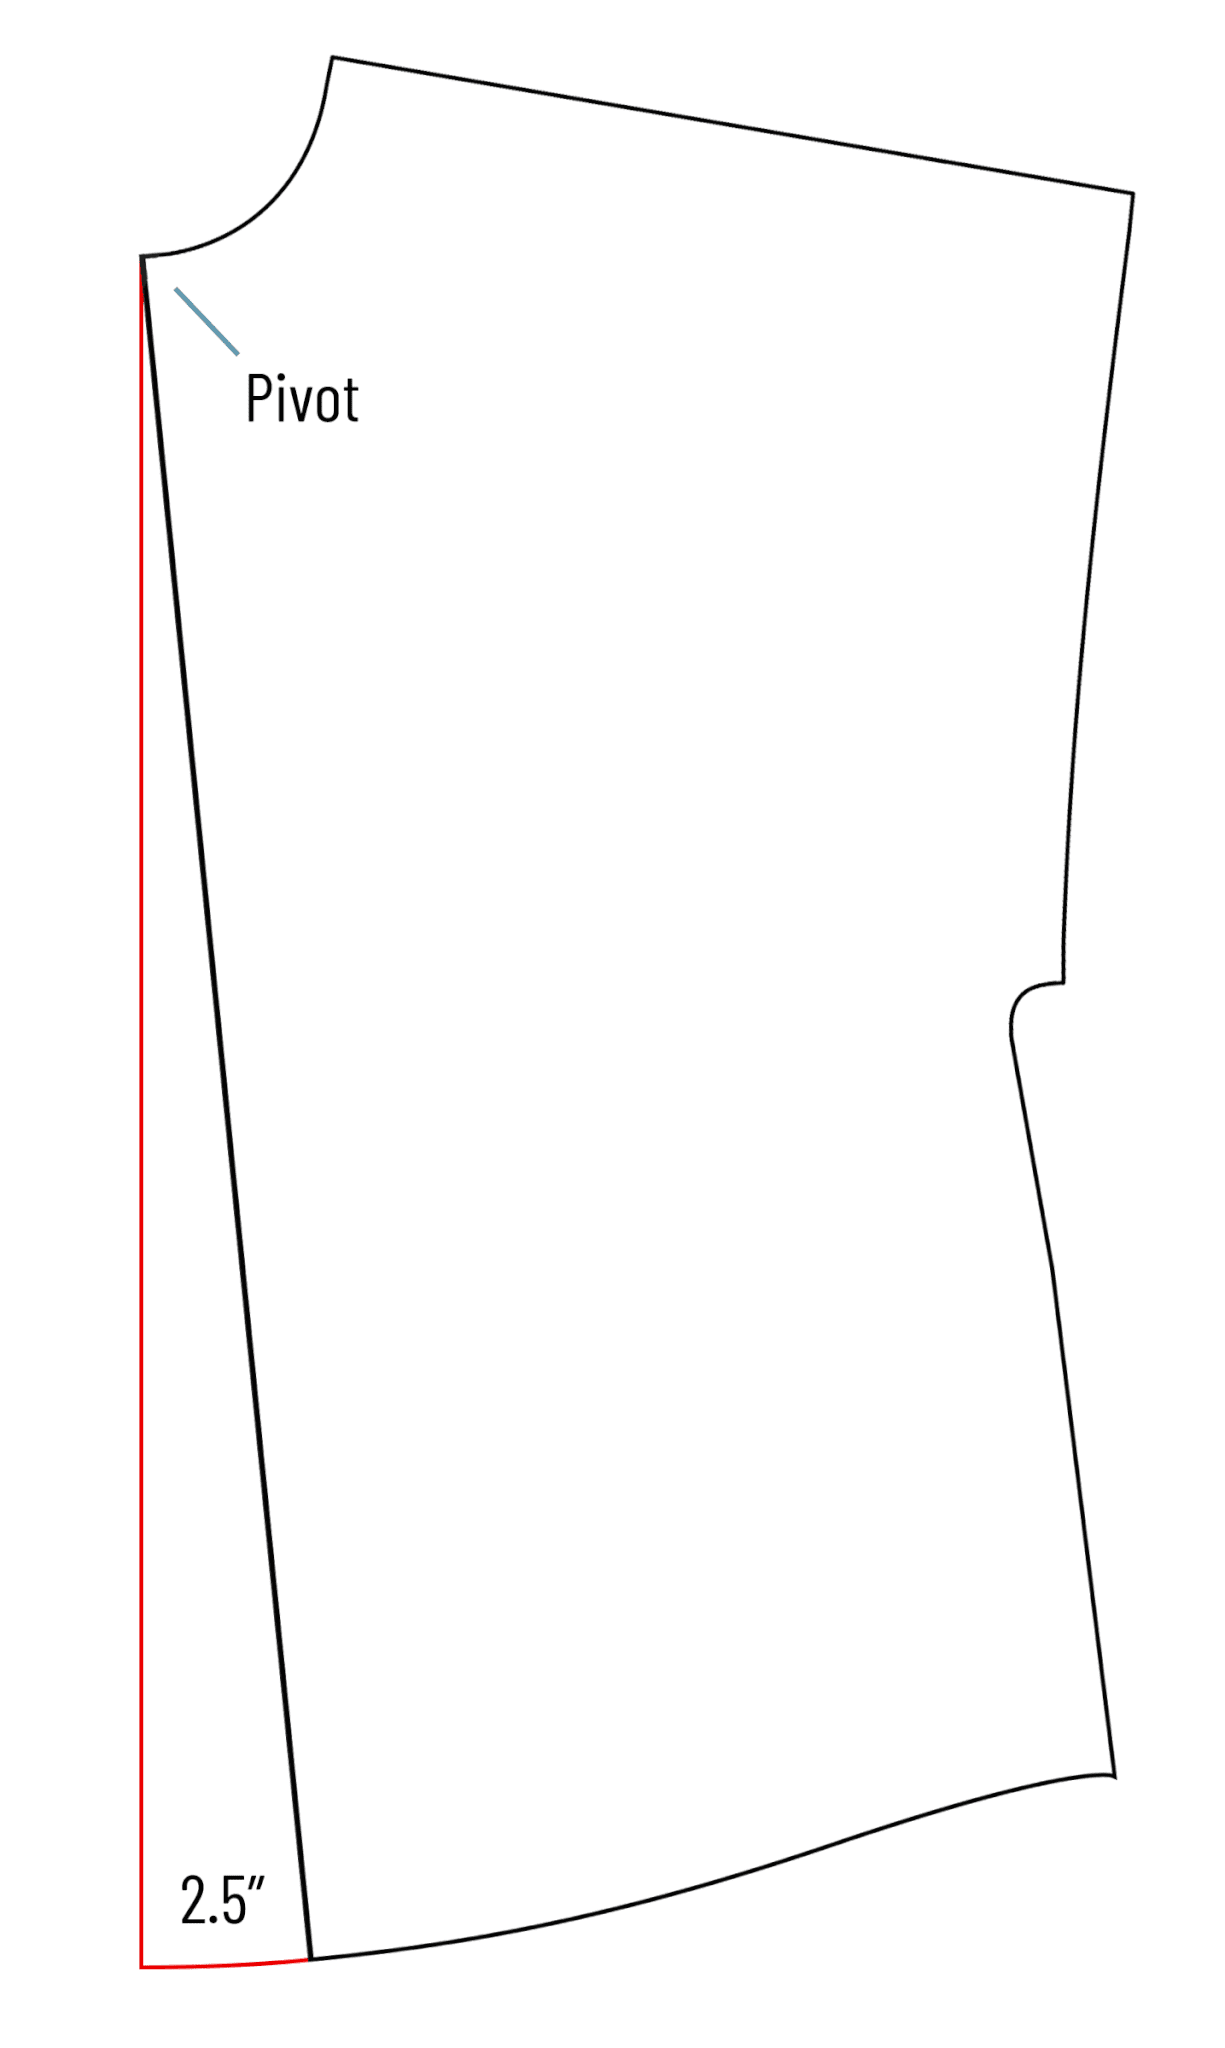
I modified my pattern pieces more to make the shirts longer, adding another 3″ from my last edits. That means from the original top of the Fringe, I added a total of 8.5″ to the front and 9.5″ to the back. I knew the back would feel really tight and bunch up over my hips (a common issue for me), so I used the quick method I learned in the fitting workshop I took at stitch to pivot and add more room. I measured the width of the back pattern piece compared to my hips + my desired ease (I think I went with 1.25″ ease), and pivoted the back piece at the neck down to the hem and added in scrap paper. I ended up adding 2.5″ overall. Here’s a quick drawing (original drawing modified from the Chalk & Notch directions). Since this is supposed to be a pretty boxy fit, I didn’t plan for fisheye darts (usually do those) and didn’t need them.
 I set up both my machines and sewed these at the same time. I’m really happy with how they came out!
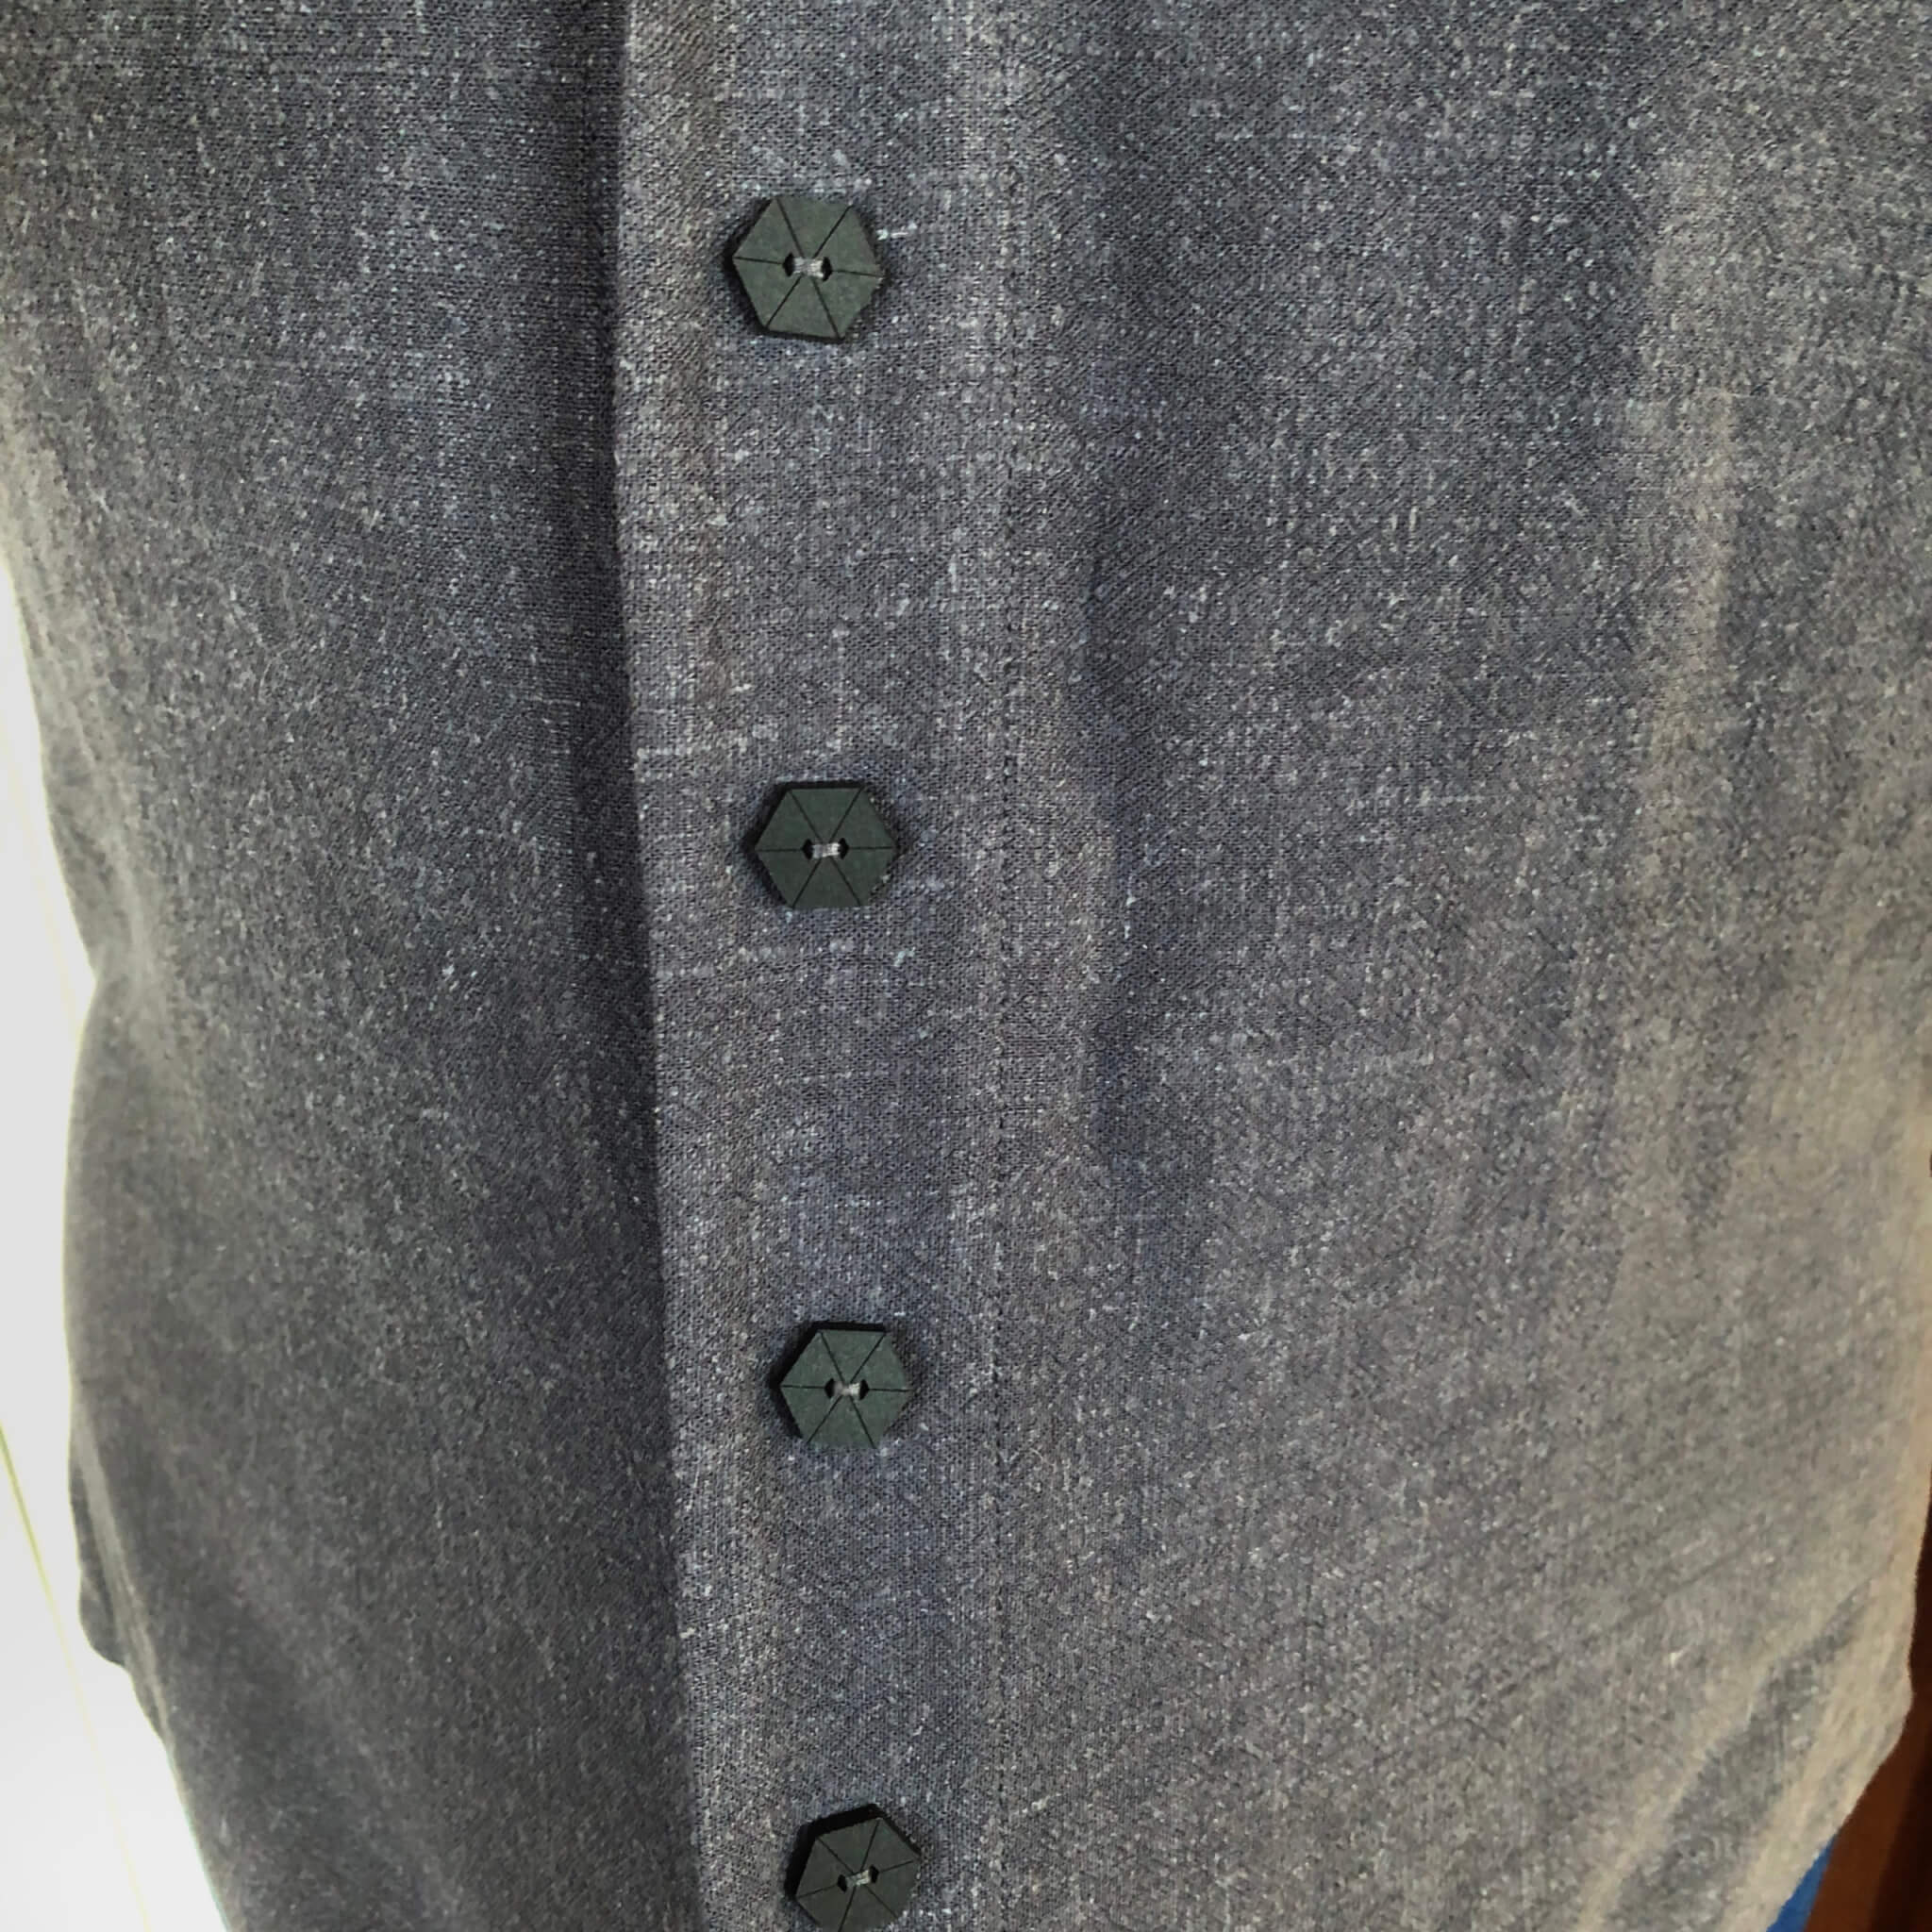
On the gray version, I finally used the hexagon buttons I bought ages ago from Arrow Mountain.

And the Nani Iro is just so nice: