I took a top-fitting workshop at Stitch yesterday to try and get to the bottom of my back-fitting issues in shirts with flat backs (no CB seam or darts). I brought my finished Melilot and a muslin and crossed my fingers for some solutions.
I’ll be honest, I wasn’t sure if we’d find a solution I liked. We started by doing a swayback adjustment and folding out a whopping 1.5″ where the fabric was folding/pooling at the narrow part of my waist, and adding that amount onto the bottom where the pattern was naturally wider. I read that if a swayback adjustment was more than .5″, something else is likely going on, but rules are meant to be broken?
This actually did help the problem and it looked much better, but we ended up sewing some swedish tracing paper in so it was a little stiff and hard to see how the fabric would lay. Unfortunately, it was still not quite right and still folding up a bit so Debbie recommended folding out ANOTHER 1″! Crazy. After that additional inch, the problem looked the same! I felt a little discouraged and like maybe I just had to accept slightly ill fitting backs for this style of top, which wouldn’t be the end of the world, truly. I think we could have kept taking folds and kept seeing the same issue over and over. As I waited for Debbie to finish with another workshop attendee, I even texted Mal “Stumped the expert!”
Well, I didn’t. Debbie came over and took one look and proclaimed I had a width issue, and diagnosed me with BUBBLE BUTT. This makes sense. As Sam put it, I do have a “bodacious booty.” To illustrate this, the difference between waist and hip measurements for this pattern sizing is 10 1/4″, but my waist and hip are more like 14-15″ different! I was relying on the ease in the pattern, and did already size up, but that did not compensate enough for that huge difference, and I was adding any additional width at the side seams.
Debbie simply cut right up the middle to the swayback fold we did earlier, and immediately the shirt hung down perfectly. It suddenly felt much more comfortable as well. She measured and said I needed a whopping 5.5-6″ added!! We also decided that additional 1″ swayback adjustment was probably not necessary, so I ripped that out and we got to work figuring out how to add that additional center booty space to the pattern when cutting out.
Debbie hemmed and hawed for a few minutes and finally landed on pivoting at the center back top on the fold and swinging out the bottom 3″. This keeps the grainline correct on the center back/fabric fold, but it also adds some additional width further up the back as well, which I was concerned with. I cut out a new back from some muslin, and basted it together. It looked better, but there was definitely some additional width going on where I didn’t need it. The solution? DARTS. I had a theory I’d need these, and it was confirmed. Two fish-eye darts fixed it right up, and now the shirt looks fitted correctly on the back. With the types of prints I tend to gravitate towards, they will barely be visible, and everything should fit much better. We made the darts 1″ at the widest point, but this might change depending on the fabric. I think the only alteration left is that I might need to straighten out the hem, and I need to take apart the muslin and transfer all of this to paper.
By the way, we didn’t even have to touch the front of the shirt. I’ll have to start adding this kind of alteration to all my tops, along with the broad back adjustment/going up a size in the back piece. I have a theory that in some tops, I’ll only need this bubble butt adjustment and can skip the swayback. Another option is slightly cropping some tops like I did with my rayon Akita. I might also try some sewaholic patterns which are drafted for pear shapes and might need less adjusting in the hips, and would just need an FBA.
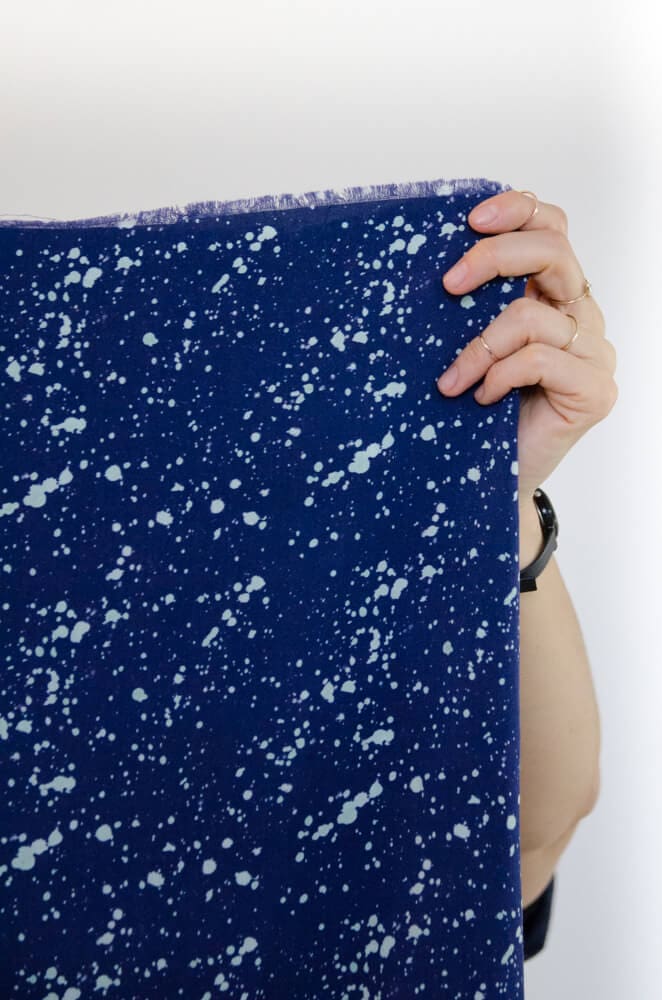
I walked into this class saying “I will not buy more fabric.” My to-sew list is getting really lengthy, but how could I not buy some rayon to make a new shirt and test this out?! I bought some of the new rayon from Workroom Social in a beautiful blue splatter print. The rayon feels pretty stable and similar to the Cotton and Steel rayon I love working with. It’s pricey at $29/yard, but I only needed 1 1/4 yards for a short sleeve top with mandarin collar. I can’t wait to test this out and take a before/after photo.
All in all, this class was very worth the $60.