
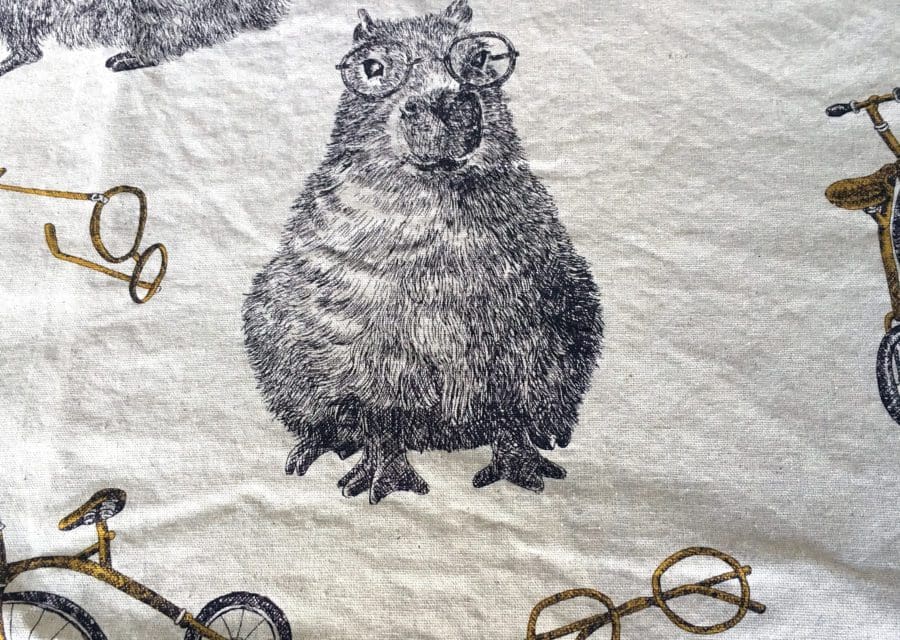
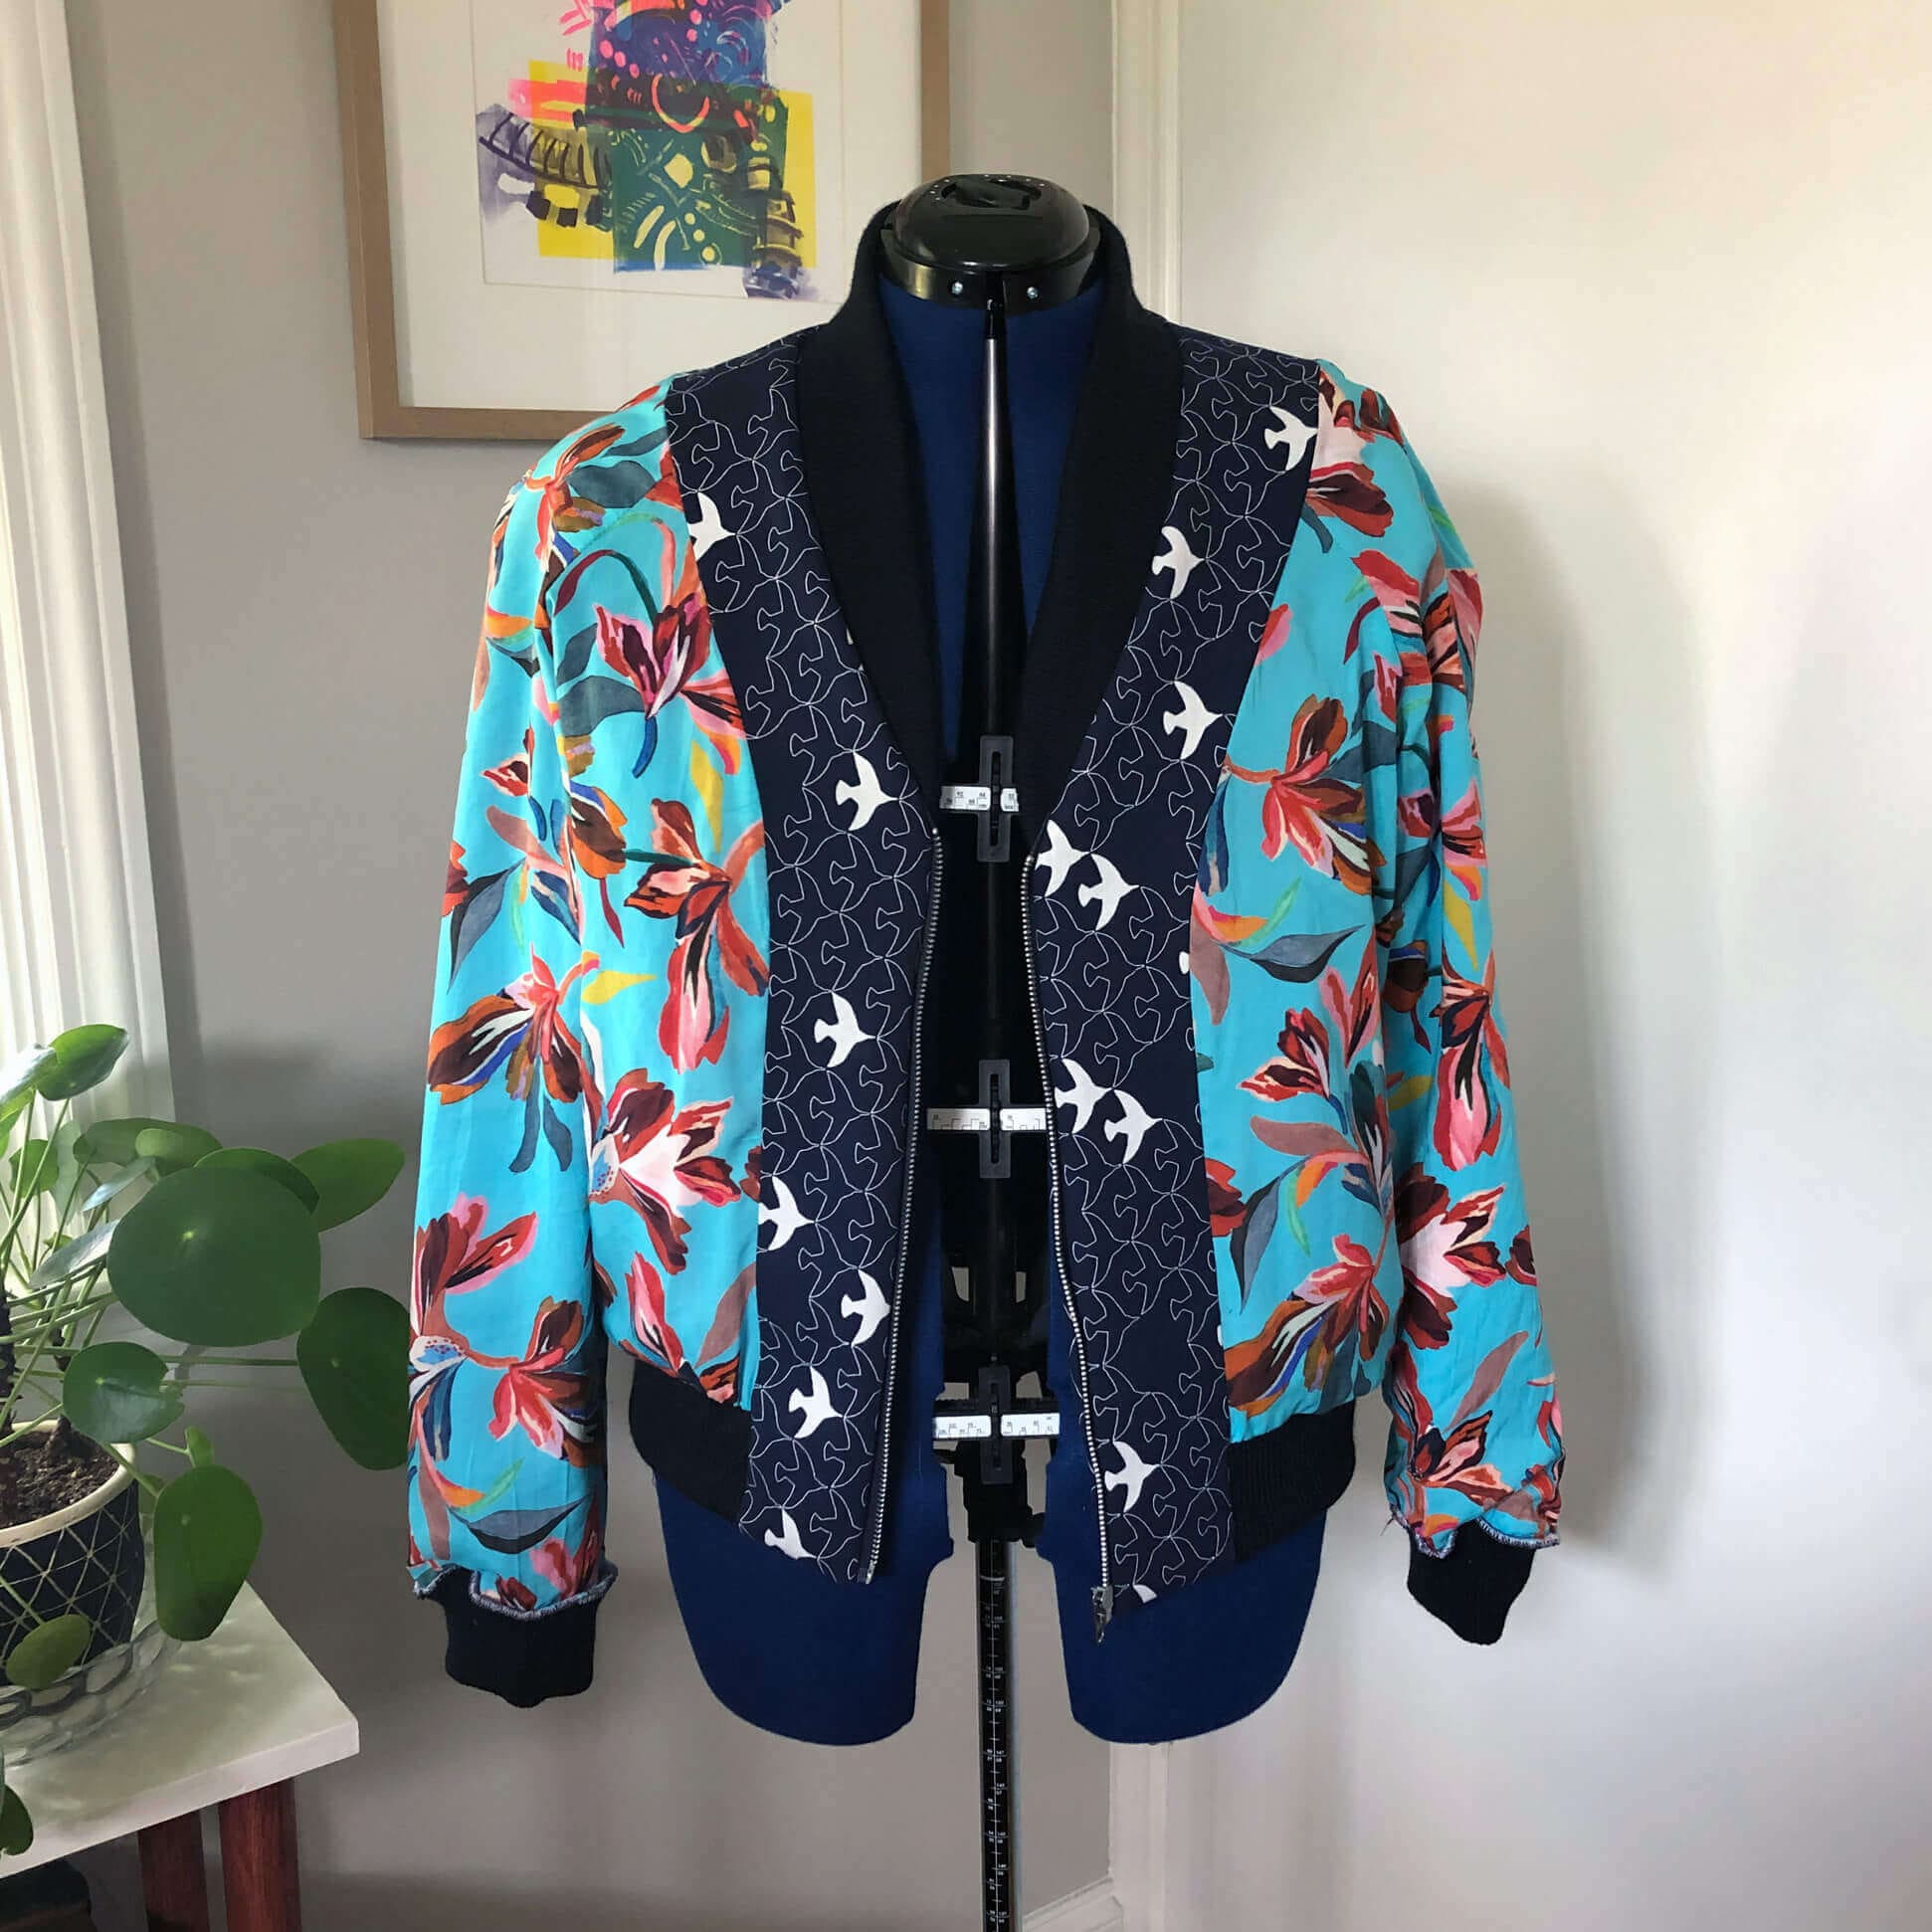
Four years ago Rachel went to Japan and brought back some amazing fabric for me. It was mostly canvas and cotton/linen blends. I didn’t use much of it until now, not because I was saving it or am precious about my favorites, but the right project just didn’t seem to come along.
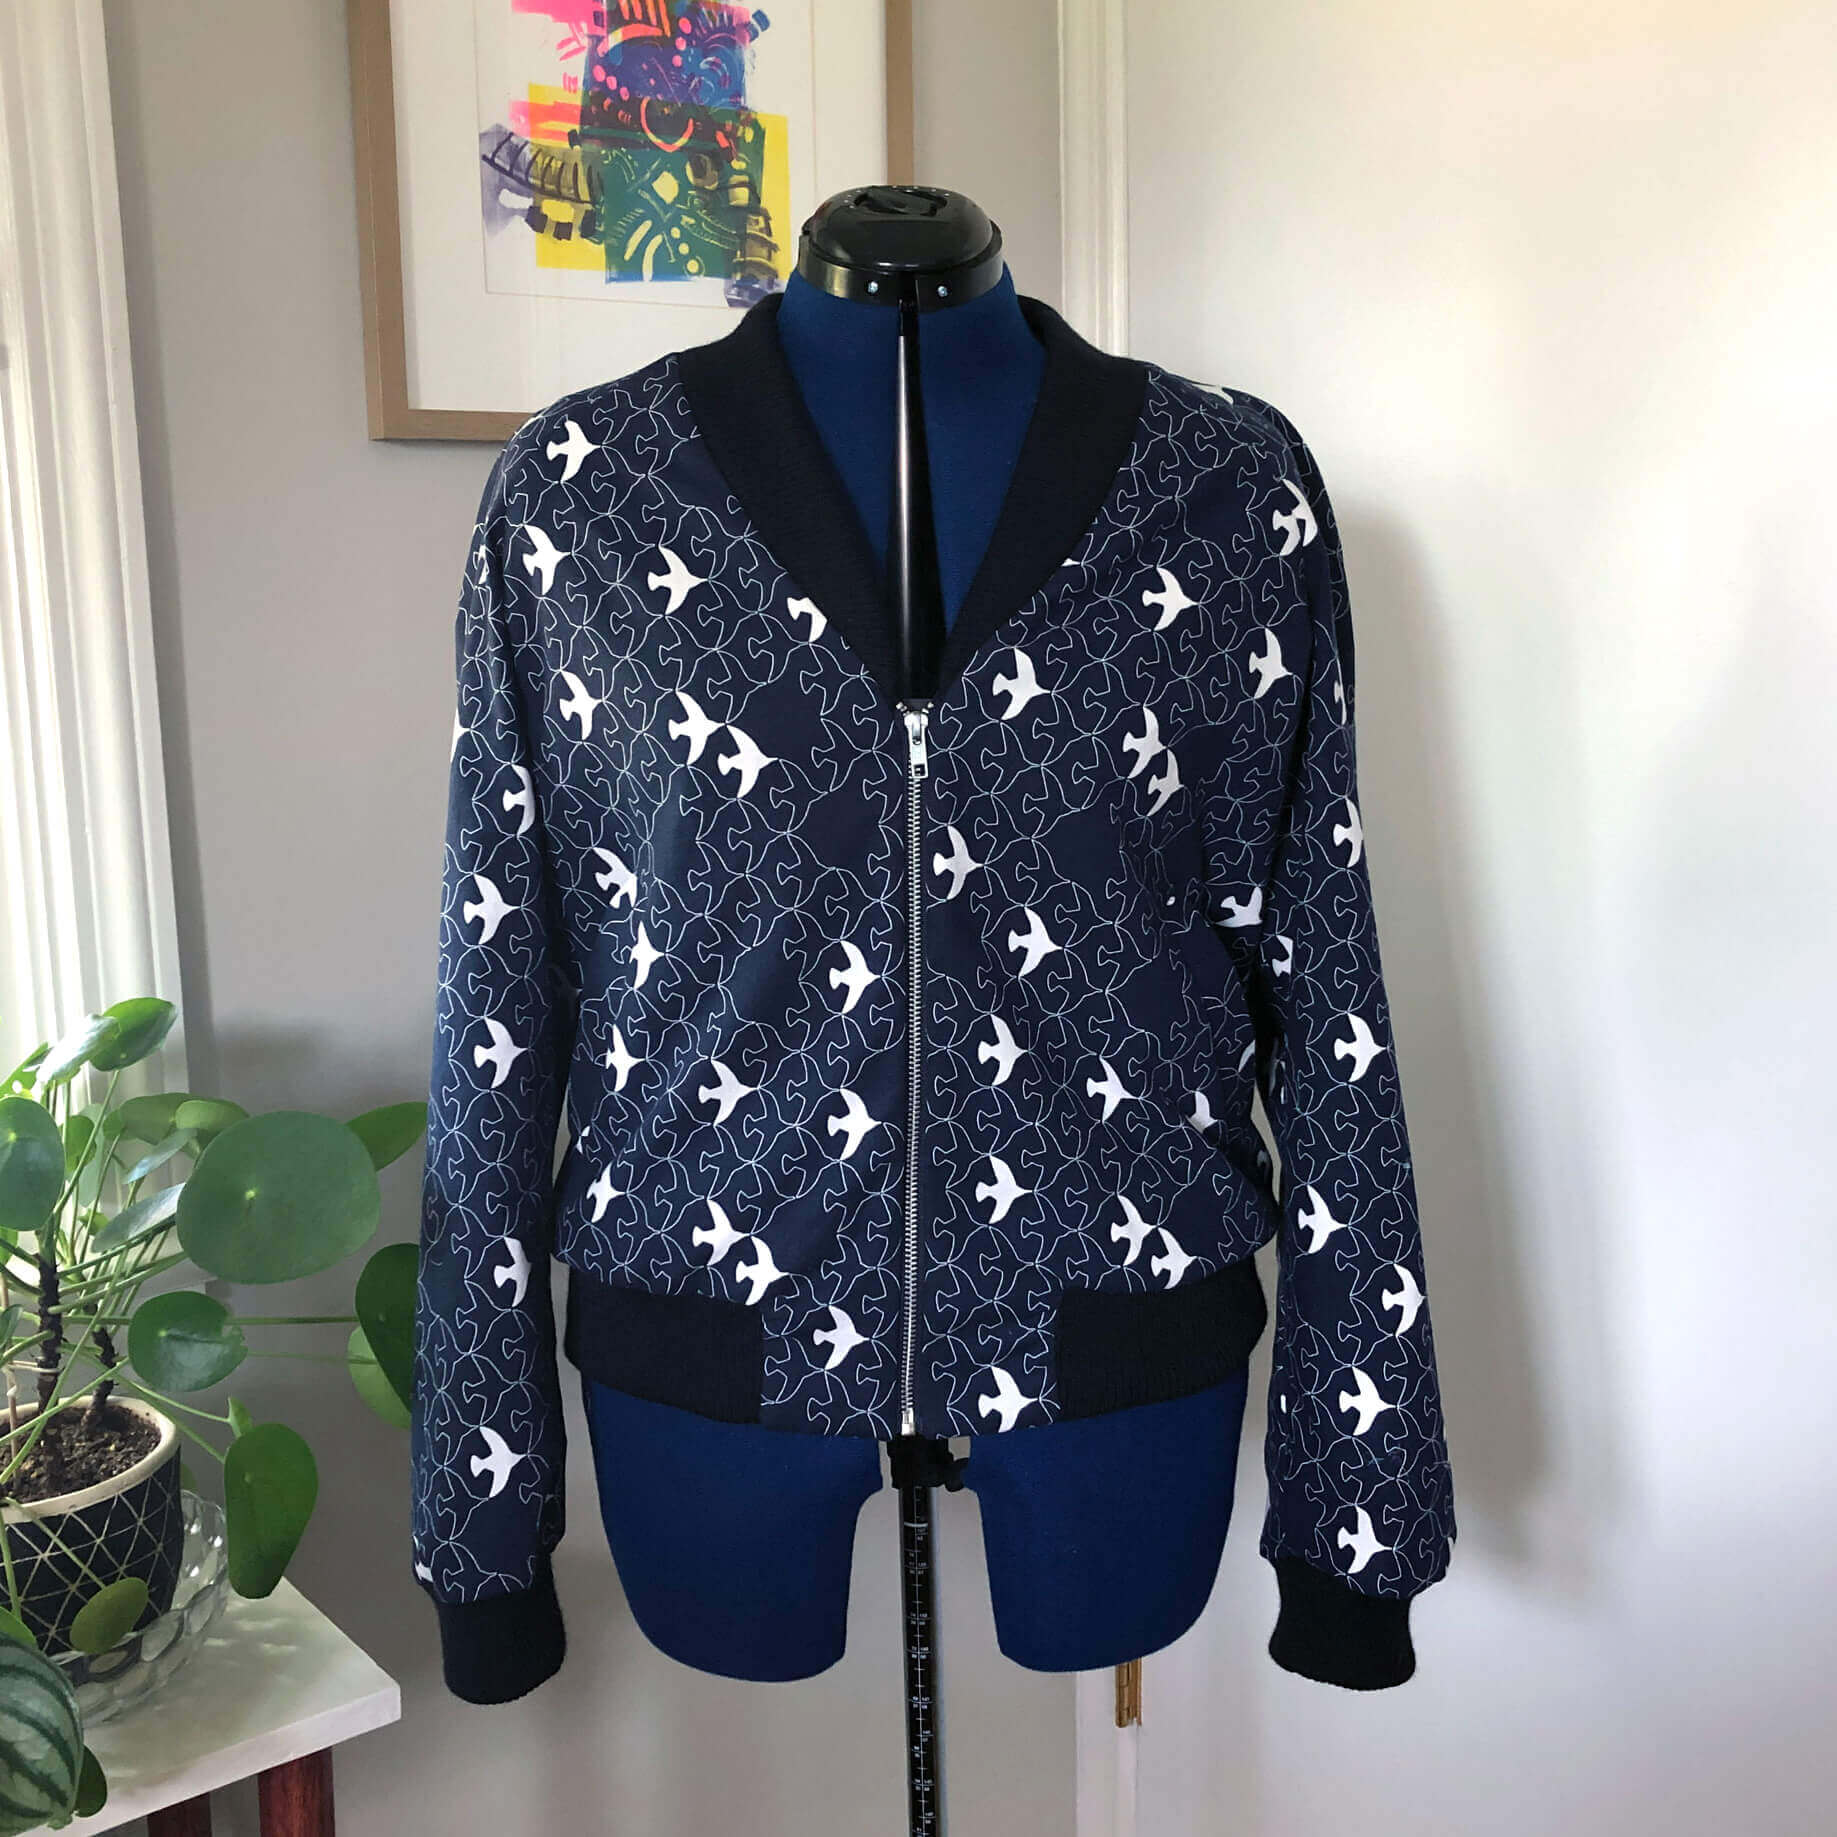
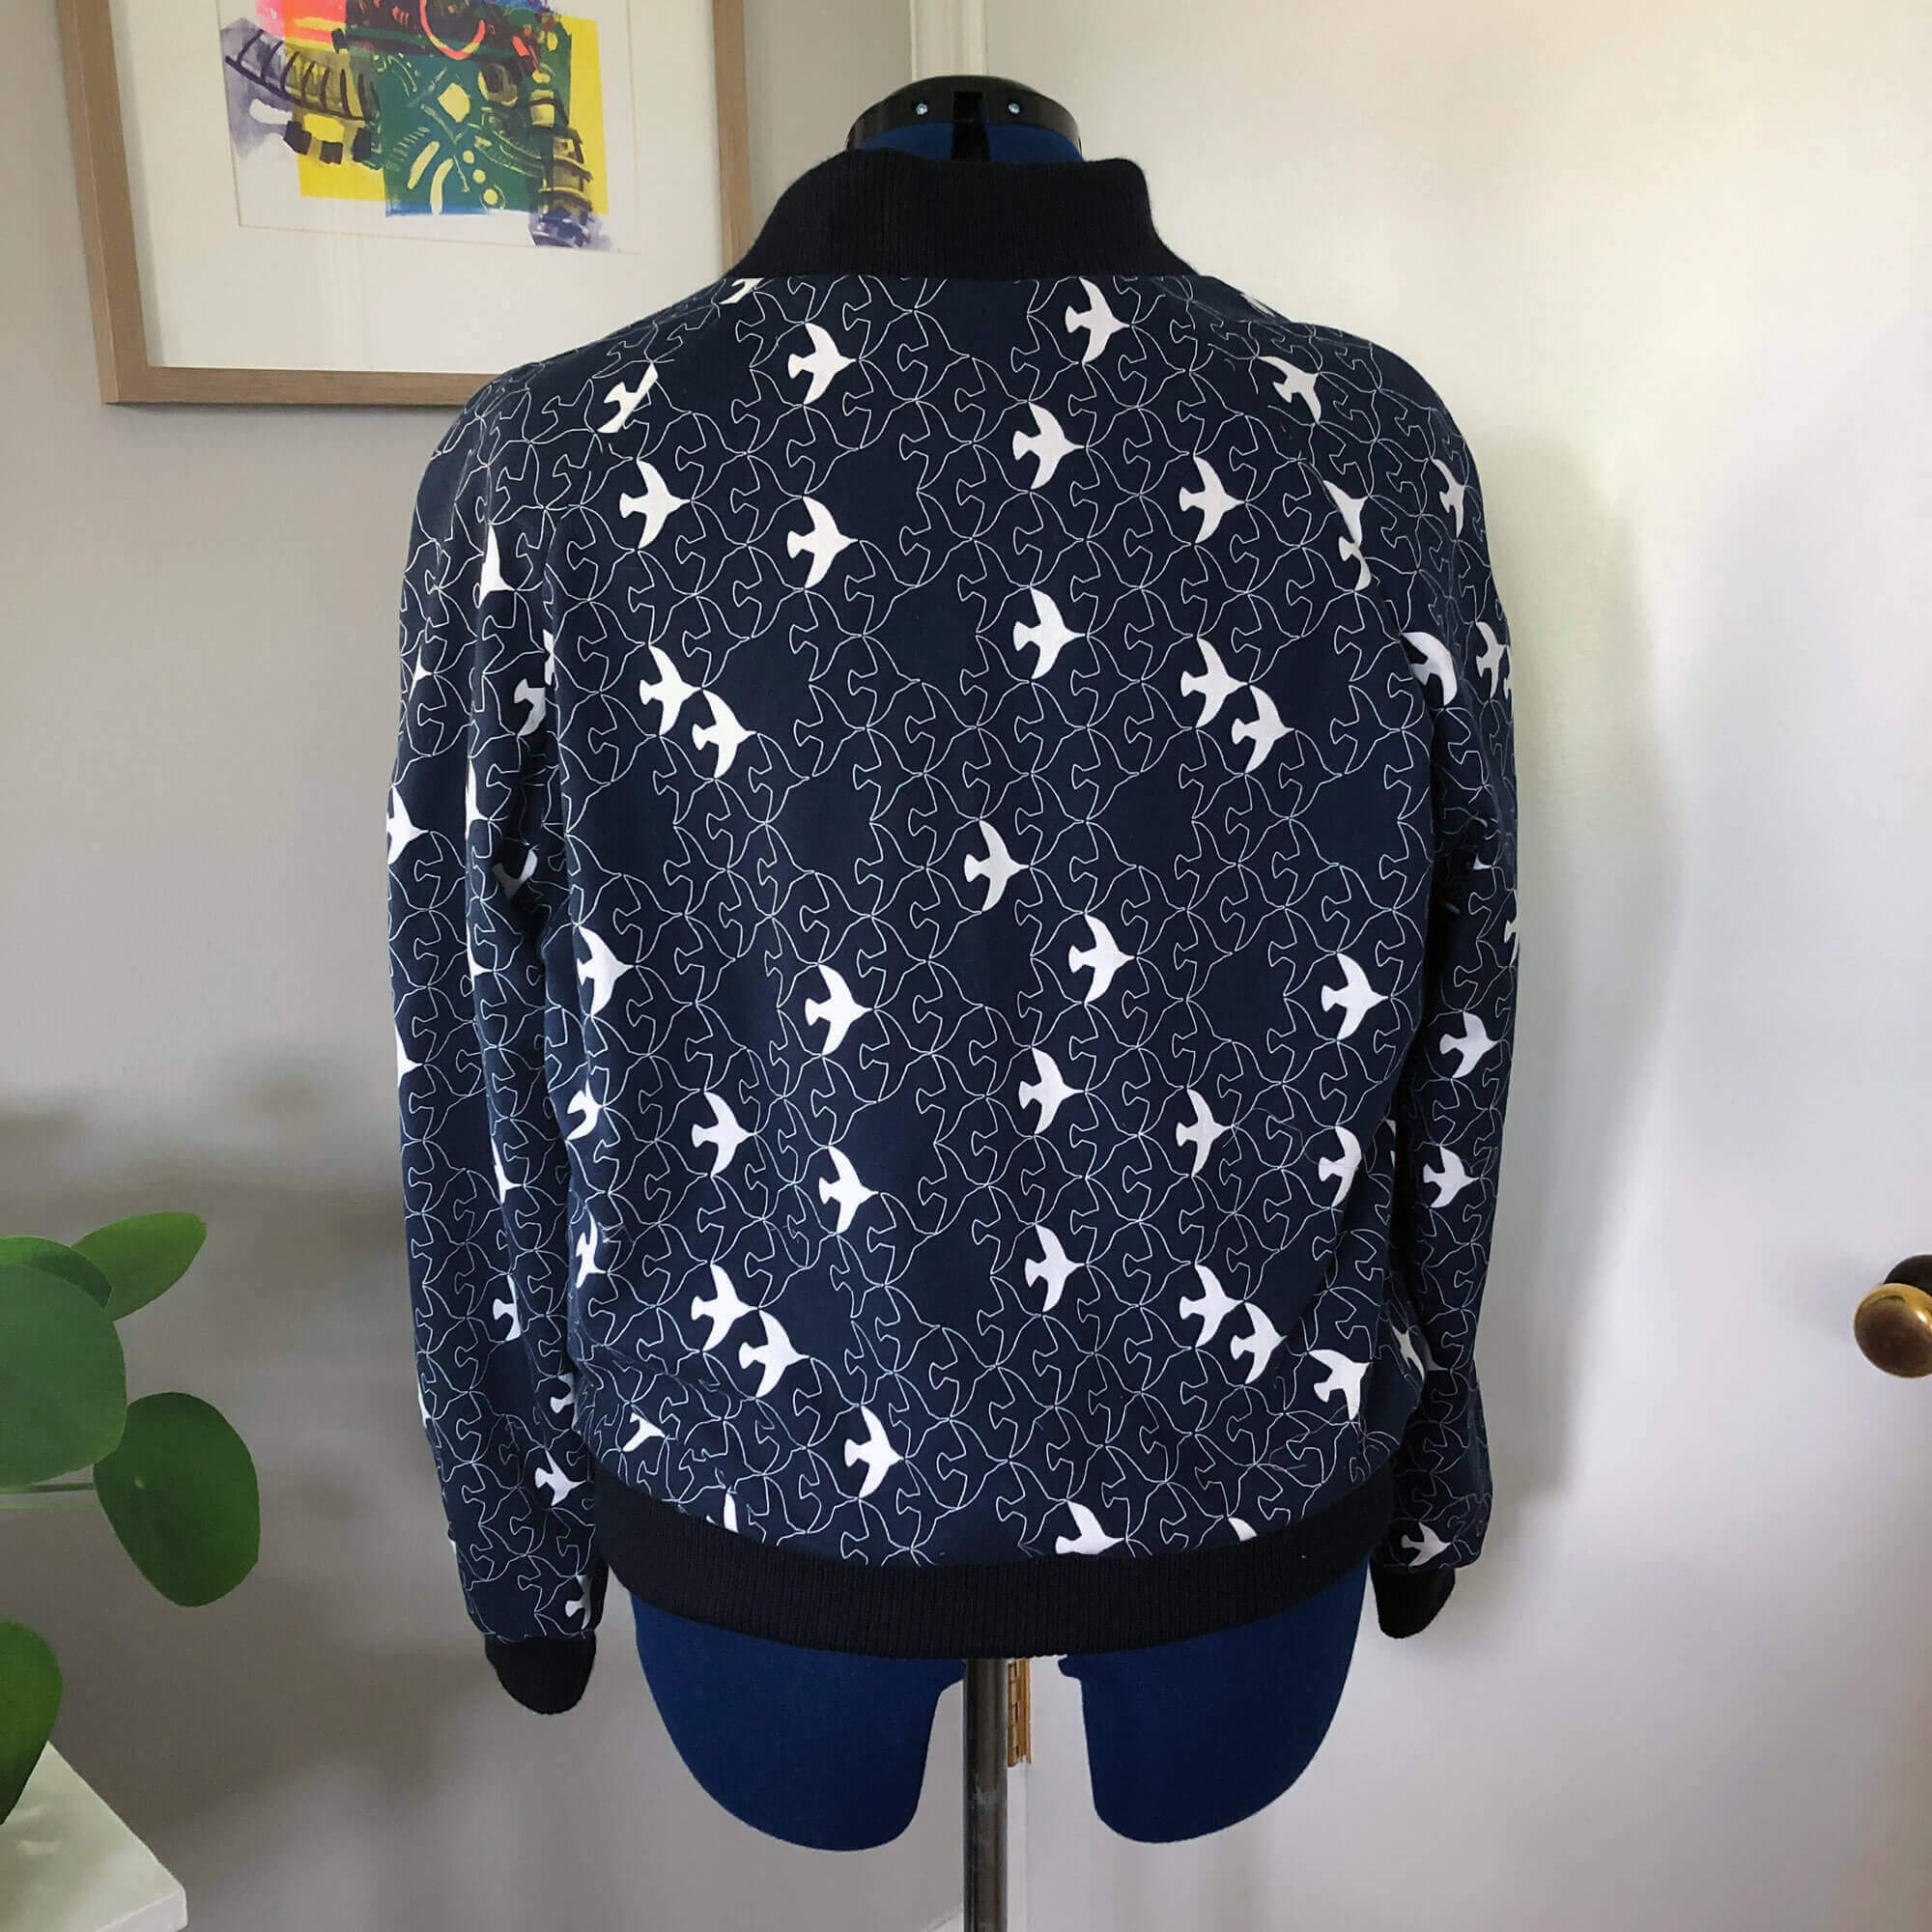
Rachel recently asked if she could commission me to make her a jacket with the Capybara fabric she got on her trip, and I gave her the option of a cropped Helen’s Closet Pona Jacket or a Papercut Rigel Bomber. She picked the bomber, so I figured I’d make one for myself as well! I picked the best bird fabric, which reminds me of MC Escher a bit. I’m still waiting on some supplies for her jacket, so I decided to make mine first as a test.

I ordered very dark (almost black) heavy ribbing from Mood, which I was concerned was a bit too dark, but it works perfectly. I couldn’t decide on a zipper tooth color so I ordered three options from Zipperstop and ended up using aluminum.
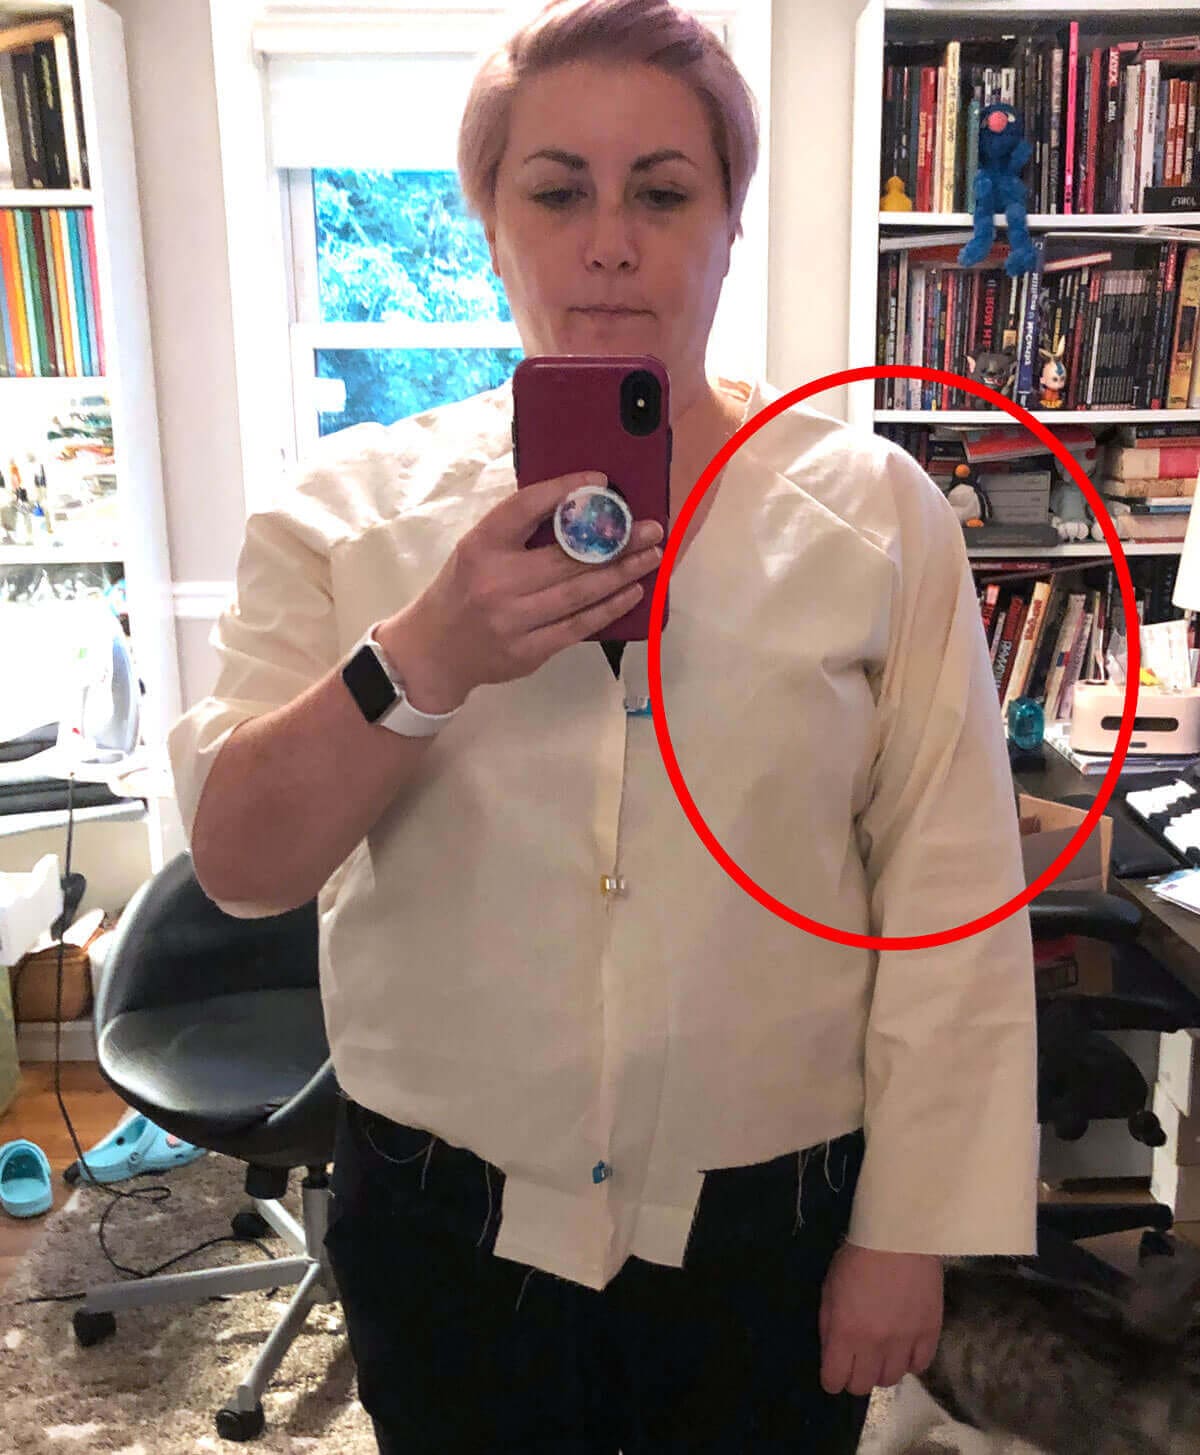
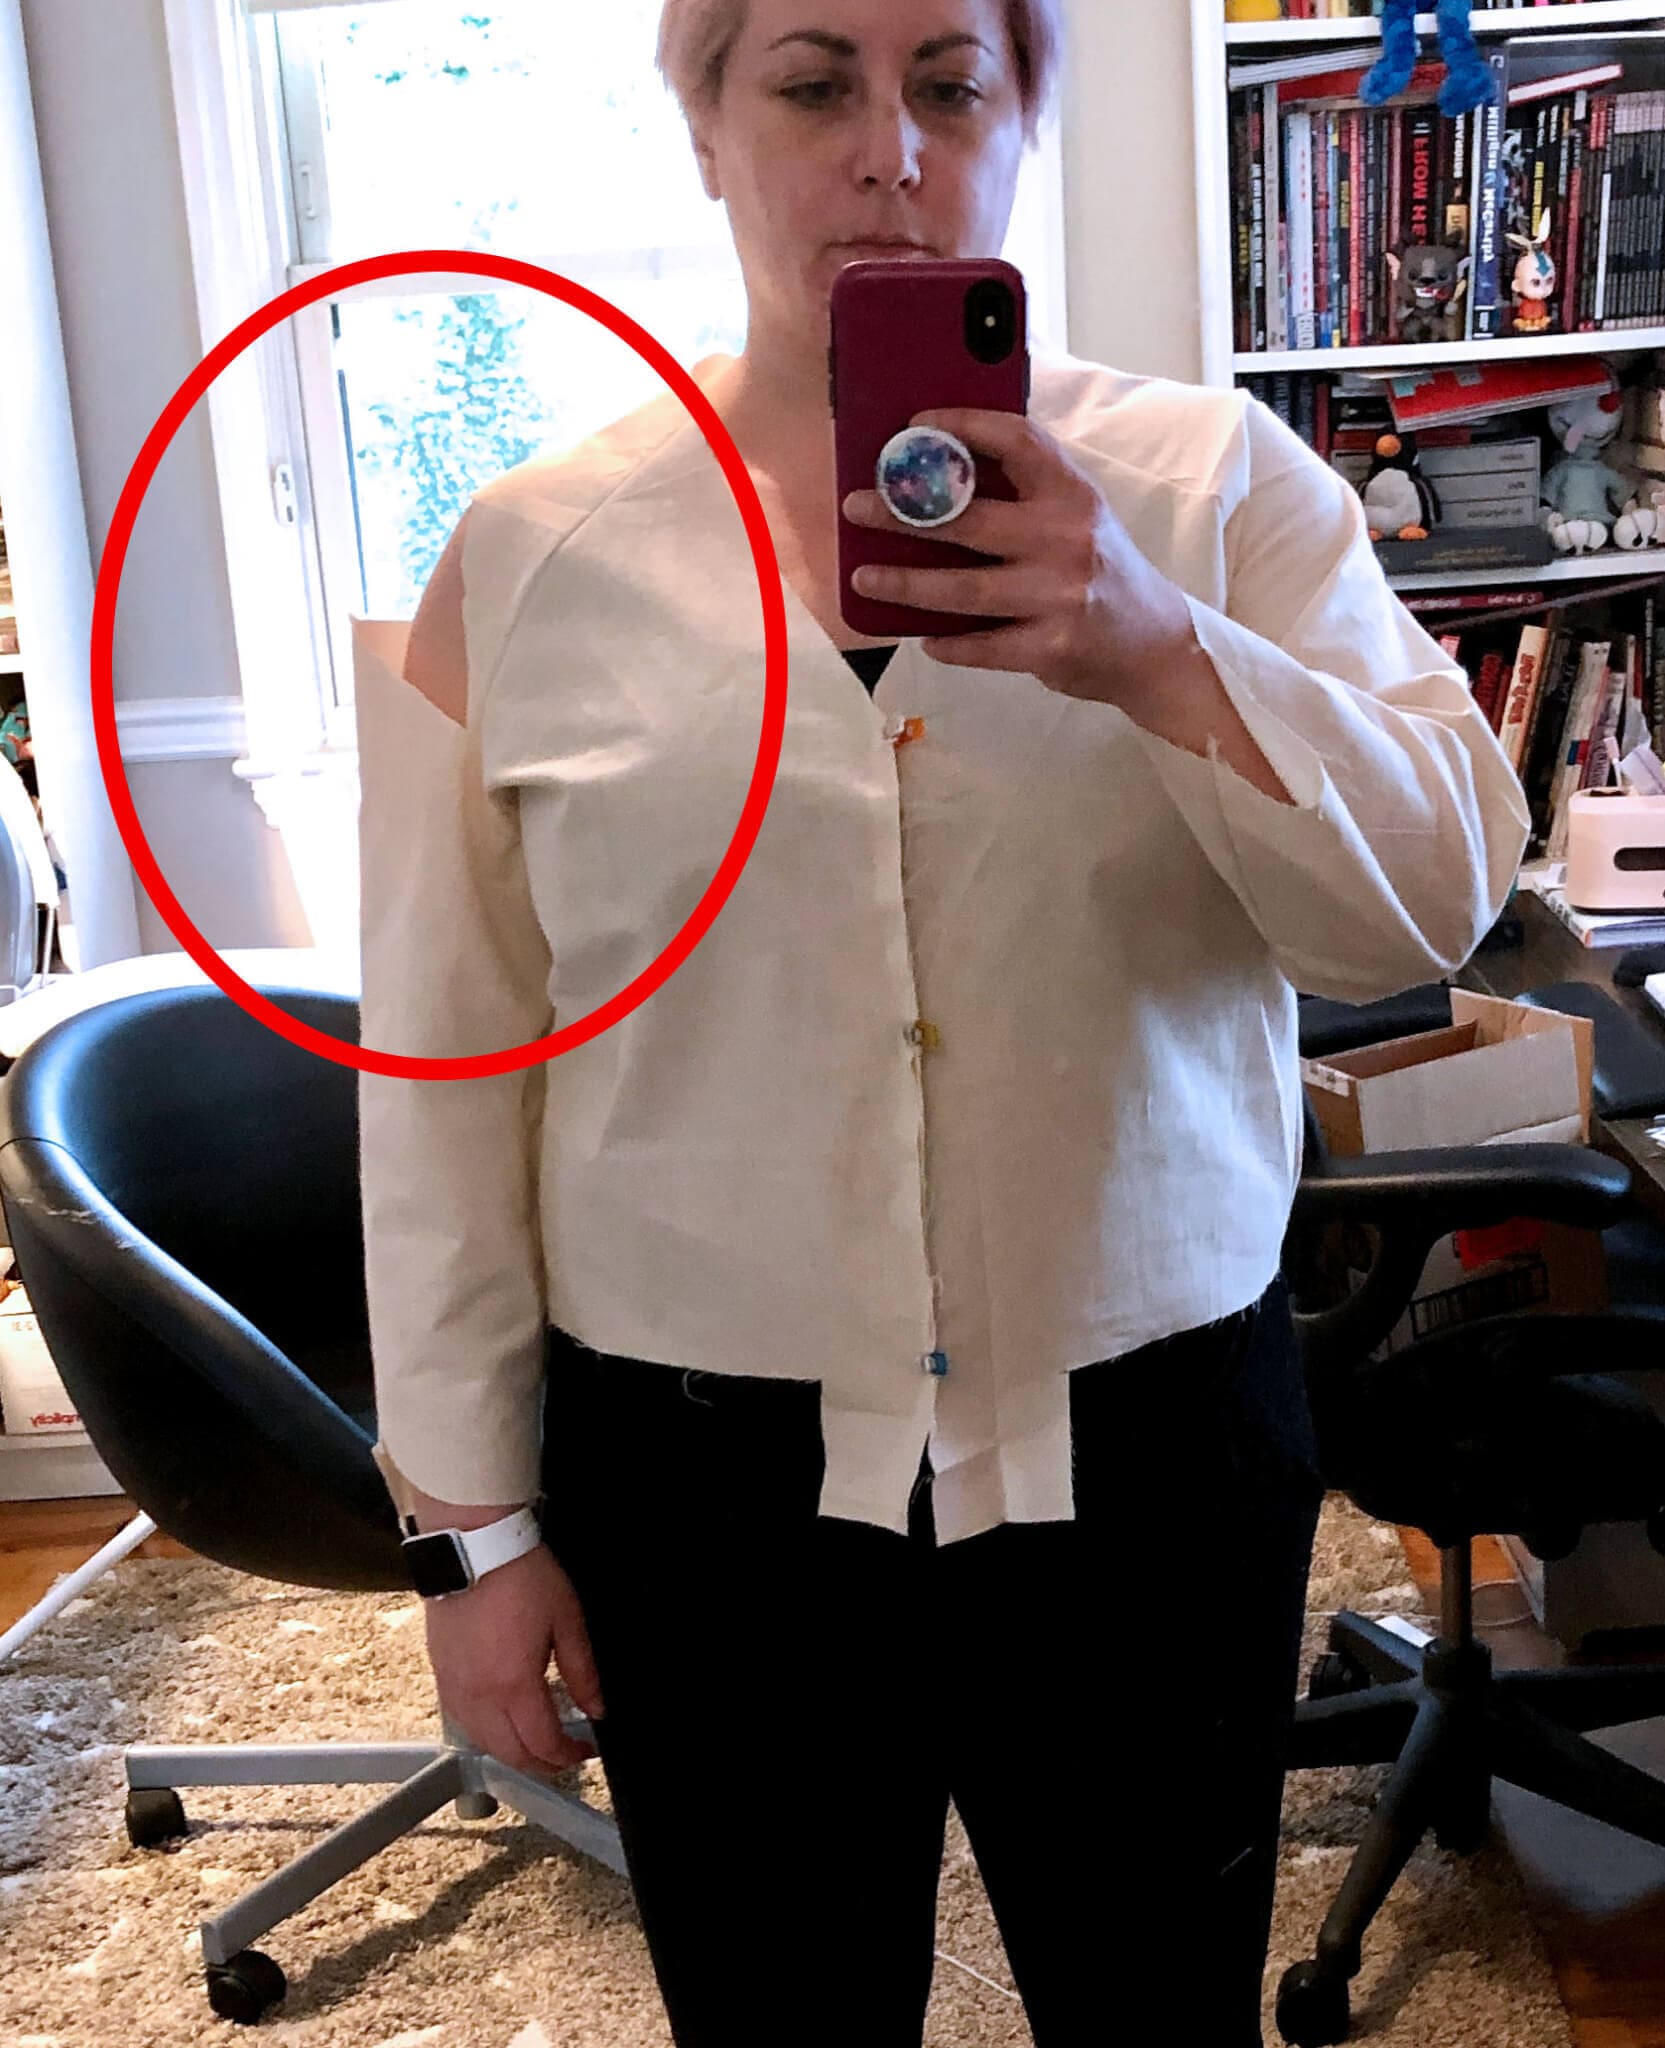
I don’t think Papercut sells this pattern anymore, but I bought it a few years ago. While a bomber jacket isn’t fitted, I still blended between a couple of sizes. Then I made a muslin. It looked pretty good except for my shoulders trying to bust out. Not only did it feel tight, but there were a ton of drag lines pointing right at my shoulder. I sliced across the shoulder and the sleeve immediately hung better:
OK, so now what? I did some research and saw that a lot of raglan coats/jackets seem to have two-piece sleeves, which would make for much easier adjustments. My first plan of attack was to just turn the sleeve into a two-piece. Then I saw that raglans sometimes have shoulder darts! This tutorial from Dream. Cut. Sew. was helpful. Of course, I needed a giant dart (I think the gap when I cut the shoulder was over 3″), so I cut my pattern piece with seam allowances instead of the huge flap to reduce bulk. It ended up looking like this:

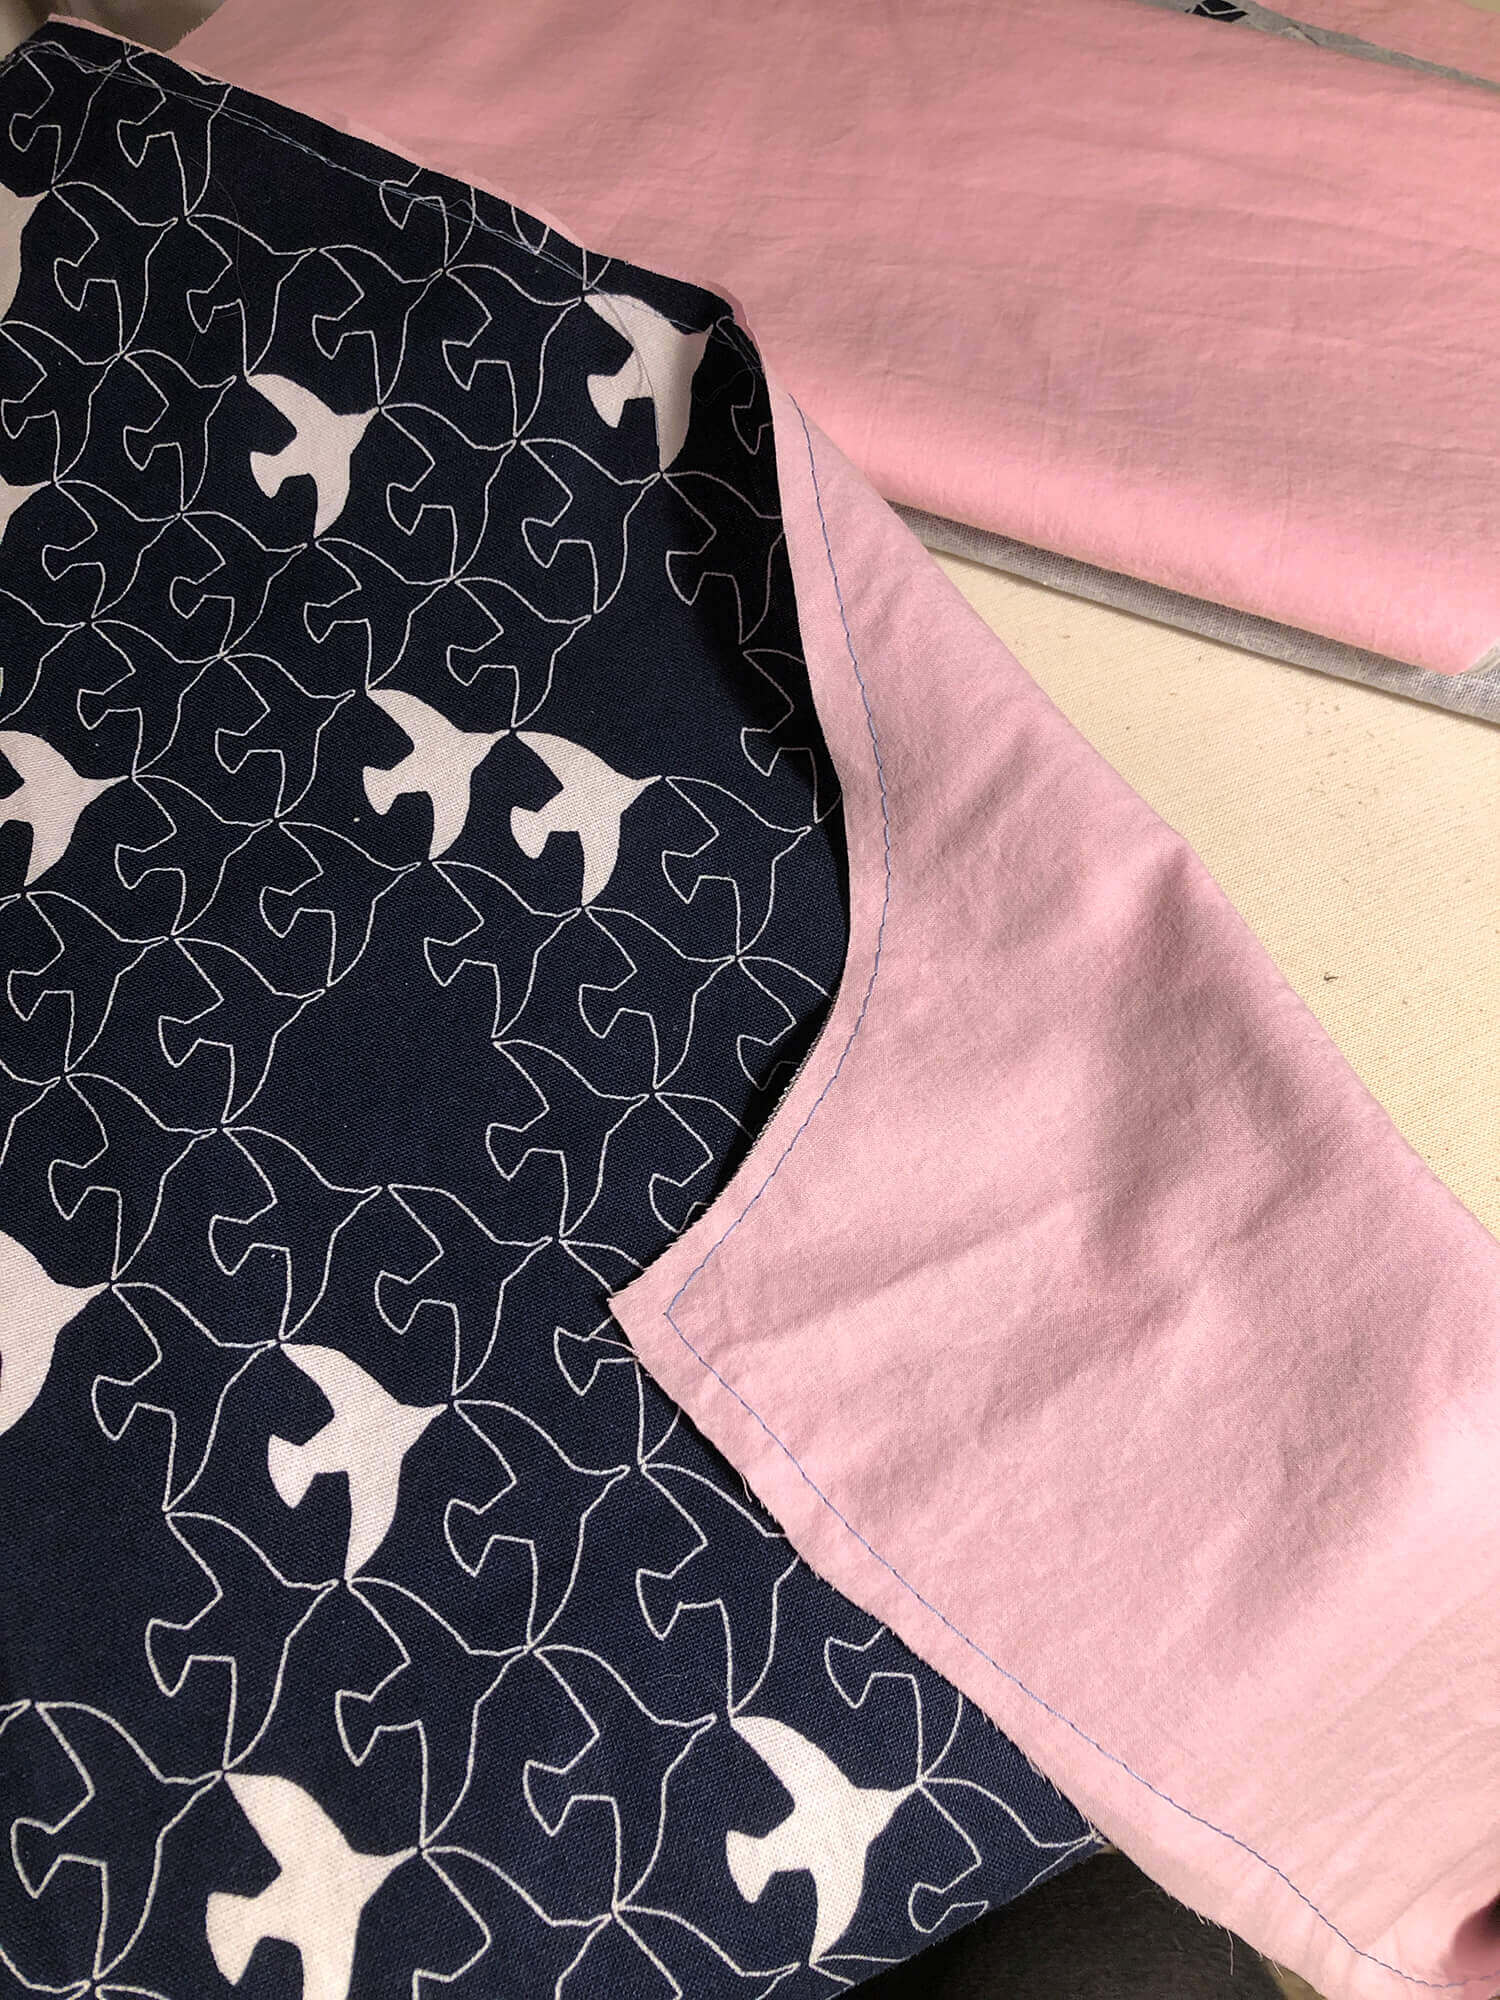
I decided to add an underlining to the jacket for a little extra warmth (light pink cotton voile), as well as a lining (floral rayon). The underlining is easy – just cut out the main pattern pieces and baste them to the main fabric. As a bonus this served as my stay stitching.
For the lining, I found a few tutorials for adding one specifically for the Rigel. I followed this one for the pattern pieces and construction of the lining, but not for sewing the lining and outer together.
For that, I skipped the waistband insertion in the instructions and went straight to the facing attachment. Then with the jacket and lining right sides together, I sandwiched the waistband ribbing all the way around, with all the raw seams lined up, and sewed leaving about a 4″ gap on one end, and 1″ on the other end. Then I pulled everything through the 4″ hole, and hand sewed the ribbing to the ends of the front and stitched up the holes. It was pretty quick actually, but I also love hand sewing! Then I basted the ends of the sleeves to the lining, and sewed on the ribbed cuffs as normal and serged the seams. Those are the only exposed seams in the jacket.
I think it worked well and I’ll probably use this process again for Rachel’s jacket! I’m just waiting on her ribbing to come back in stock, since I ordered the wrong amount.
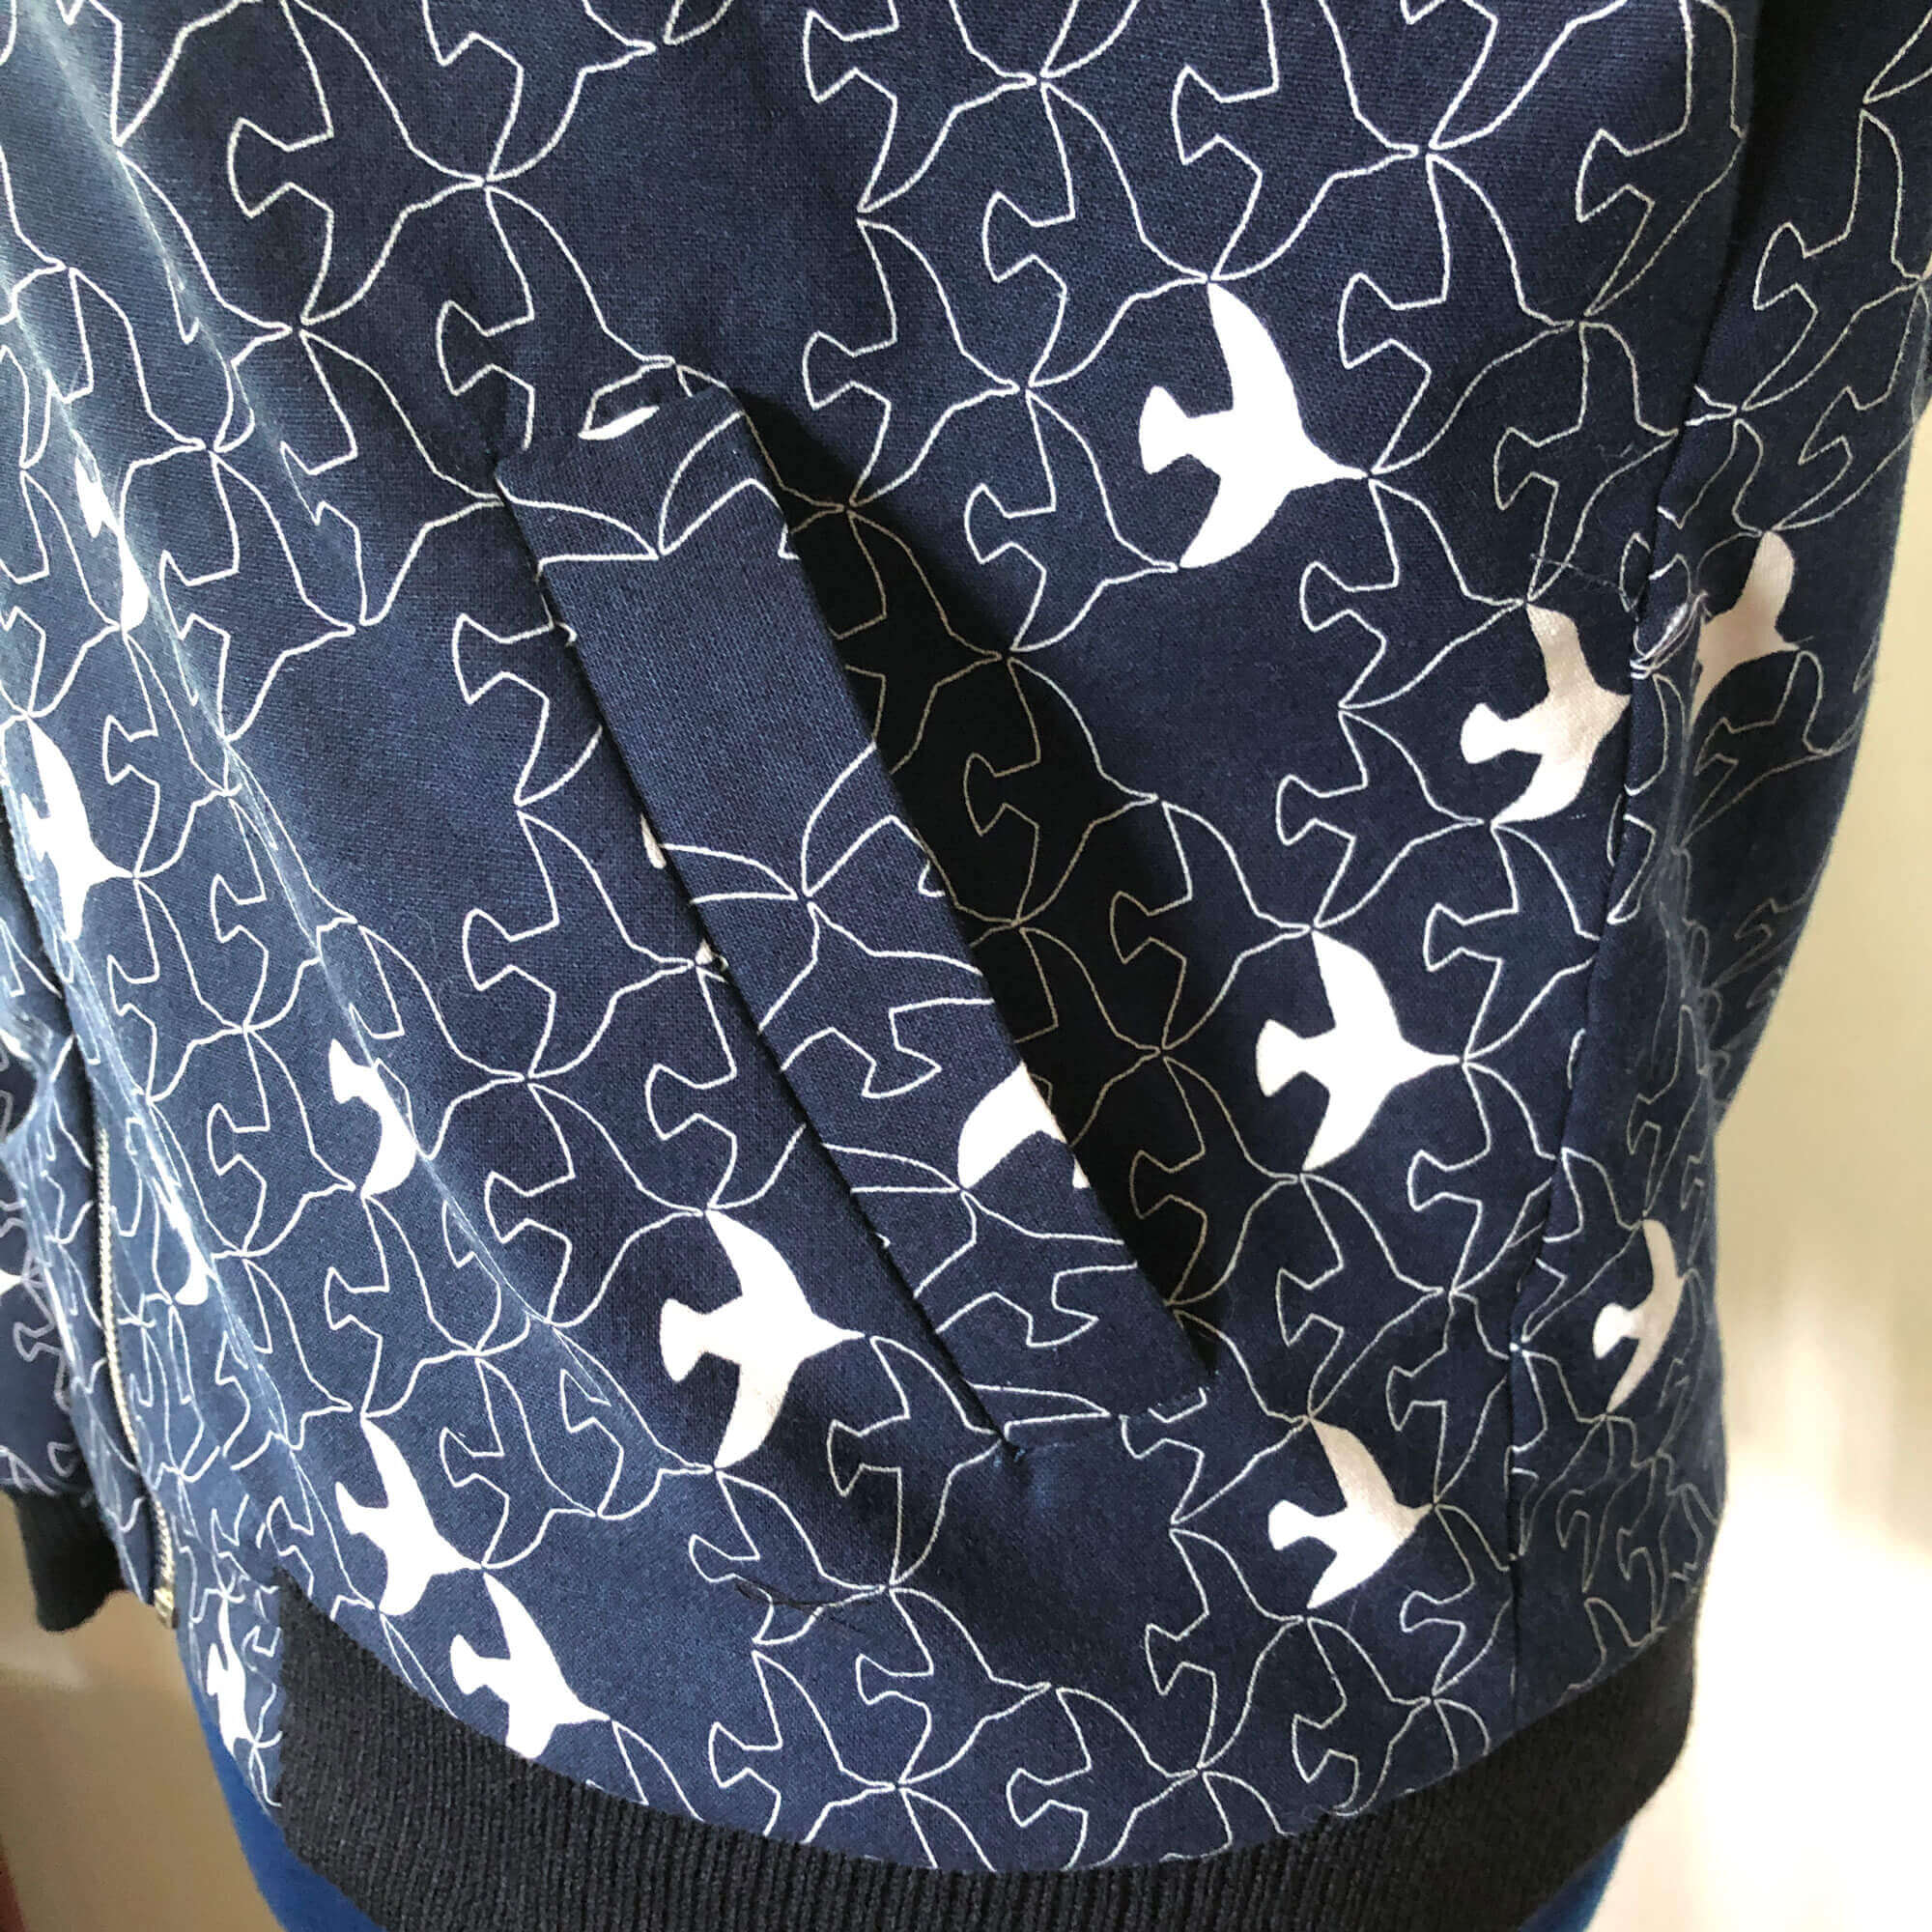
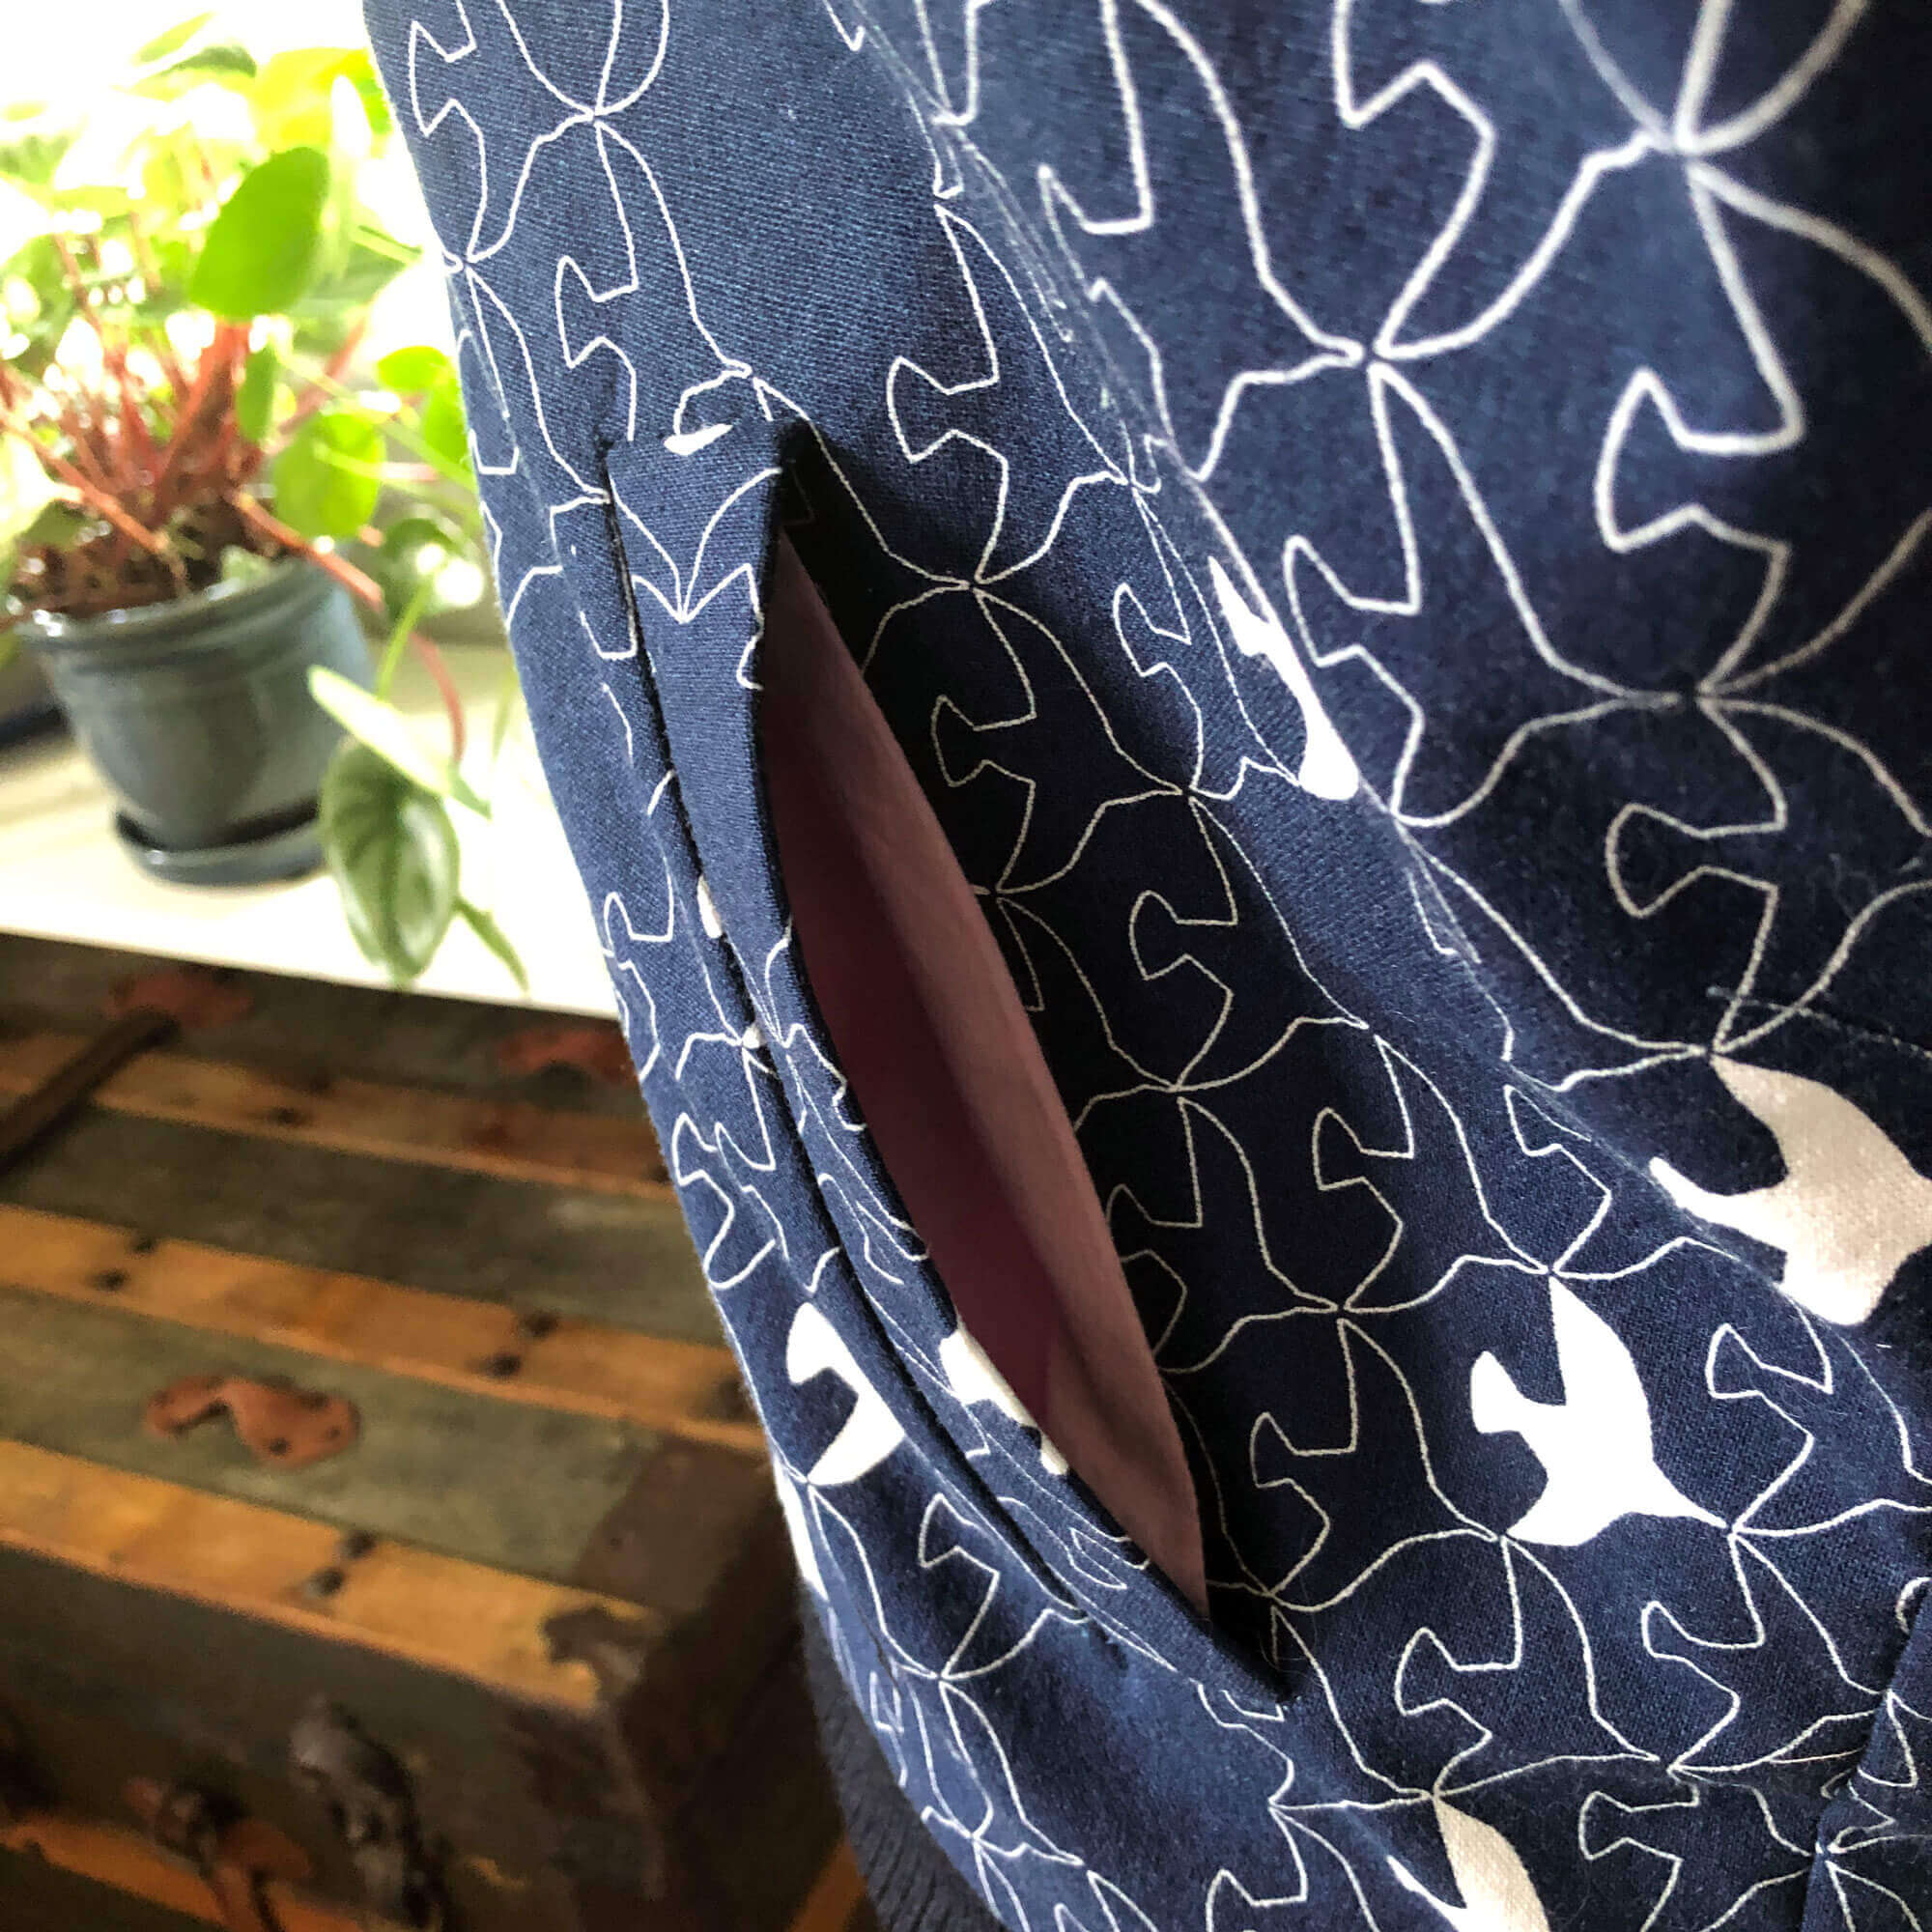
Welt pocket details:
I cannot wait until it’s cool enough to wear this! I bet it’ll be warm enough to see me through fall and mild winter days!
