We moved last summer, and I’ve been slowly pulling my new sewing space together. It’s been a bit of an adjustment. You’d think transitioning from no dedicated space would be easy, but I’ve been spending a lot of my time organizing and planning instead of sewing. I finally got things set up how I wanted, and then we had to take it all apart to cut a giant hole in the wall to repair a pipe.
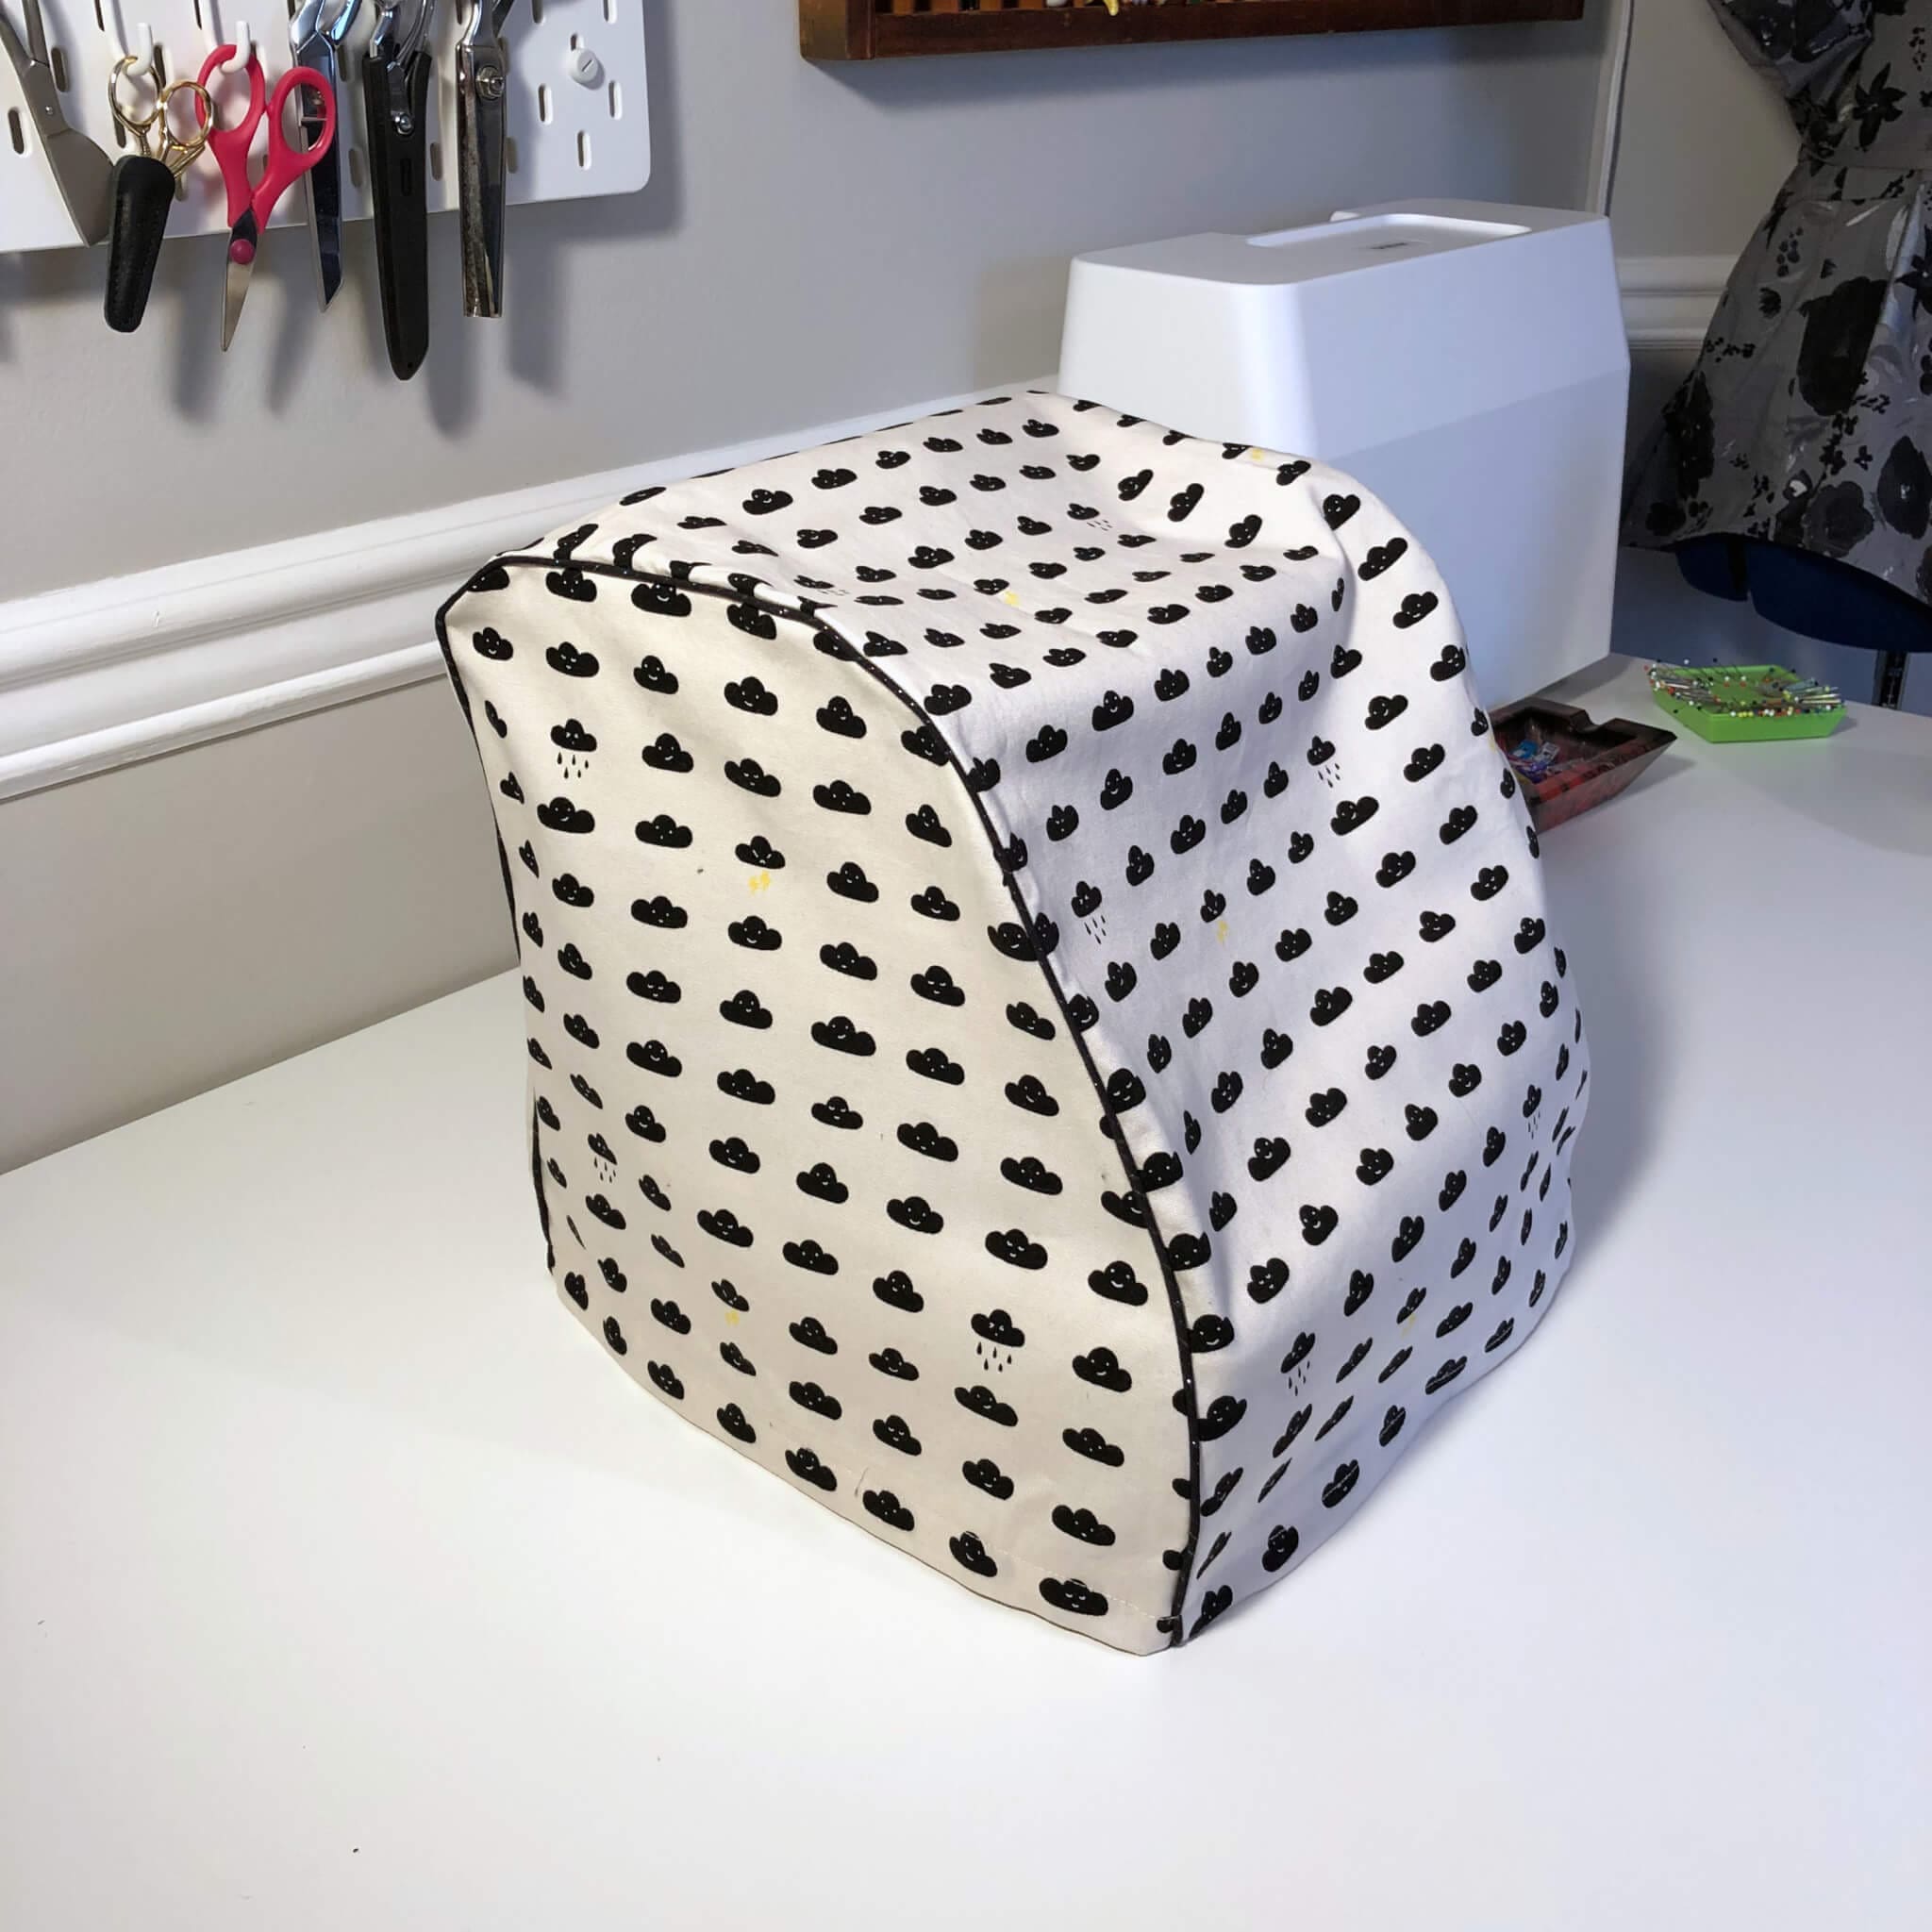
Anyway, things have settled down and my supplies have found their homes, so I’m slowly starting to sew again. In our old place, my machines lived in a cubby so they didn’t get very dusty. Now I have a desk, and the amount of dust settling on my serger is nuts, so I sewed up a cover using this pattern from Closet Case and some of the fabric Rachel brought back from Japan.


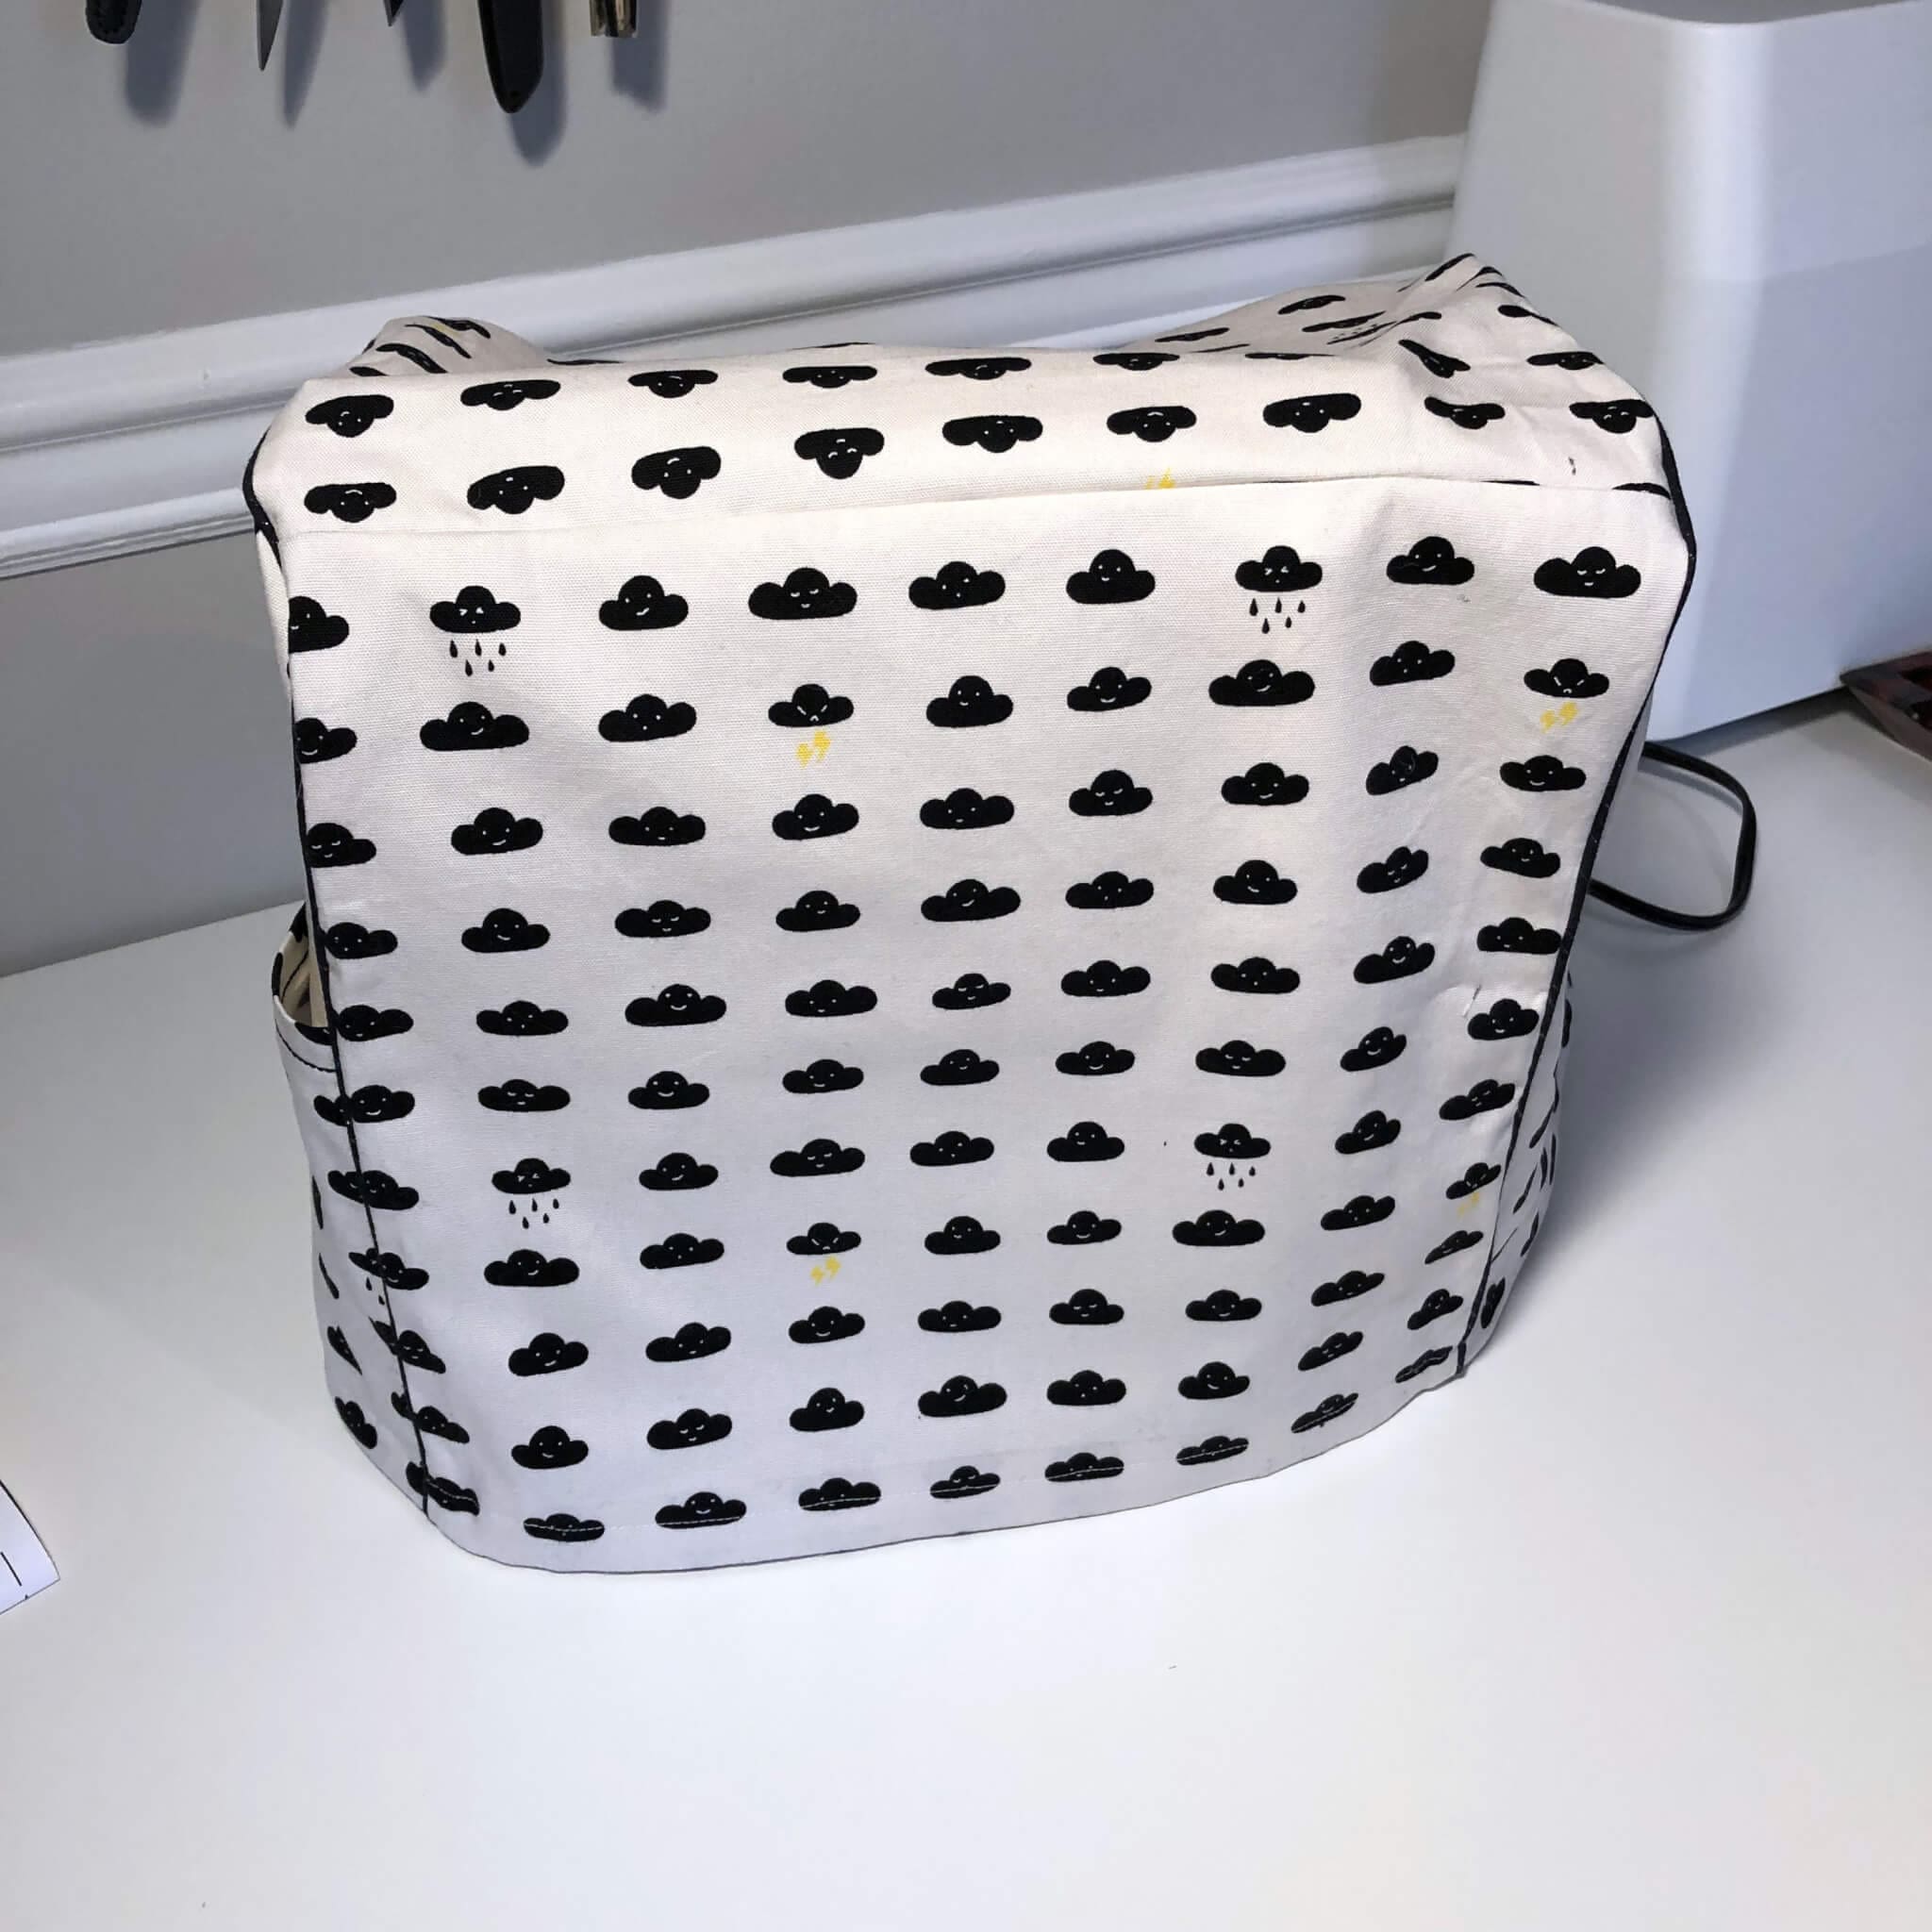
I measured my machine and adjusted the pattern accordingly, and it was a quick sew! I added a side pocket to the cover, which turns out wasn’t the greatest idea since it’s pretty floppy. I also cut the main body piece and seamed it so the directional print would be right side up on the back.


I’ve never made or used piping before and don’t have a piping foot, plus I was feeling pretty lazy, so my original plan was to skip it. Then I reconsidered, deciding it might help keep the shape. I used a 10″ square of some black chambray with metallic threads to make a continuous strip of bias tape, and used this method from Noodlehead to insert some kitchen twine that seemed like a good piping weight. I only had half inch double sided fusible tape, so I just cut a strip in half lengthwise. It worked great! I attached the piping with a zipper foot and it worked fine. Now I want to add piping to everything.

