Since I started sewing and bombarding all my friends with photos of my projects on Instagram, I’ve managed to suck a few friends into the hobby as well. I was chatting with Lindsey the other day about sewing when you don’t have a dedicated space and you can’t leave things out (due to curious babies, or in my case cats). I started writing an email to her with photos about my set-up and realized it sounded like a blog post so here you go.
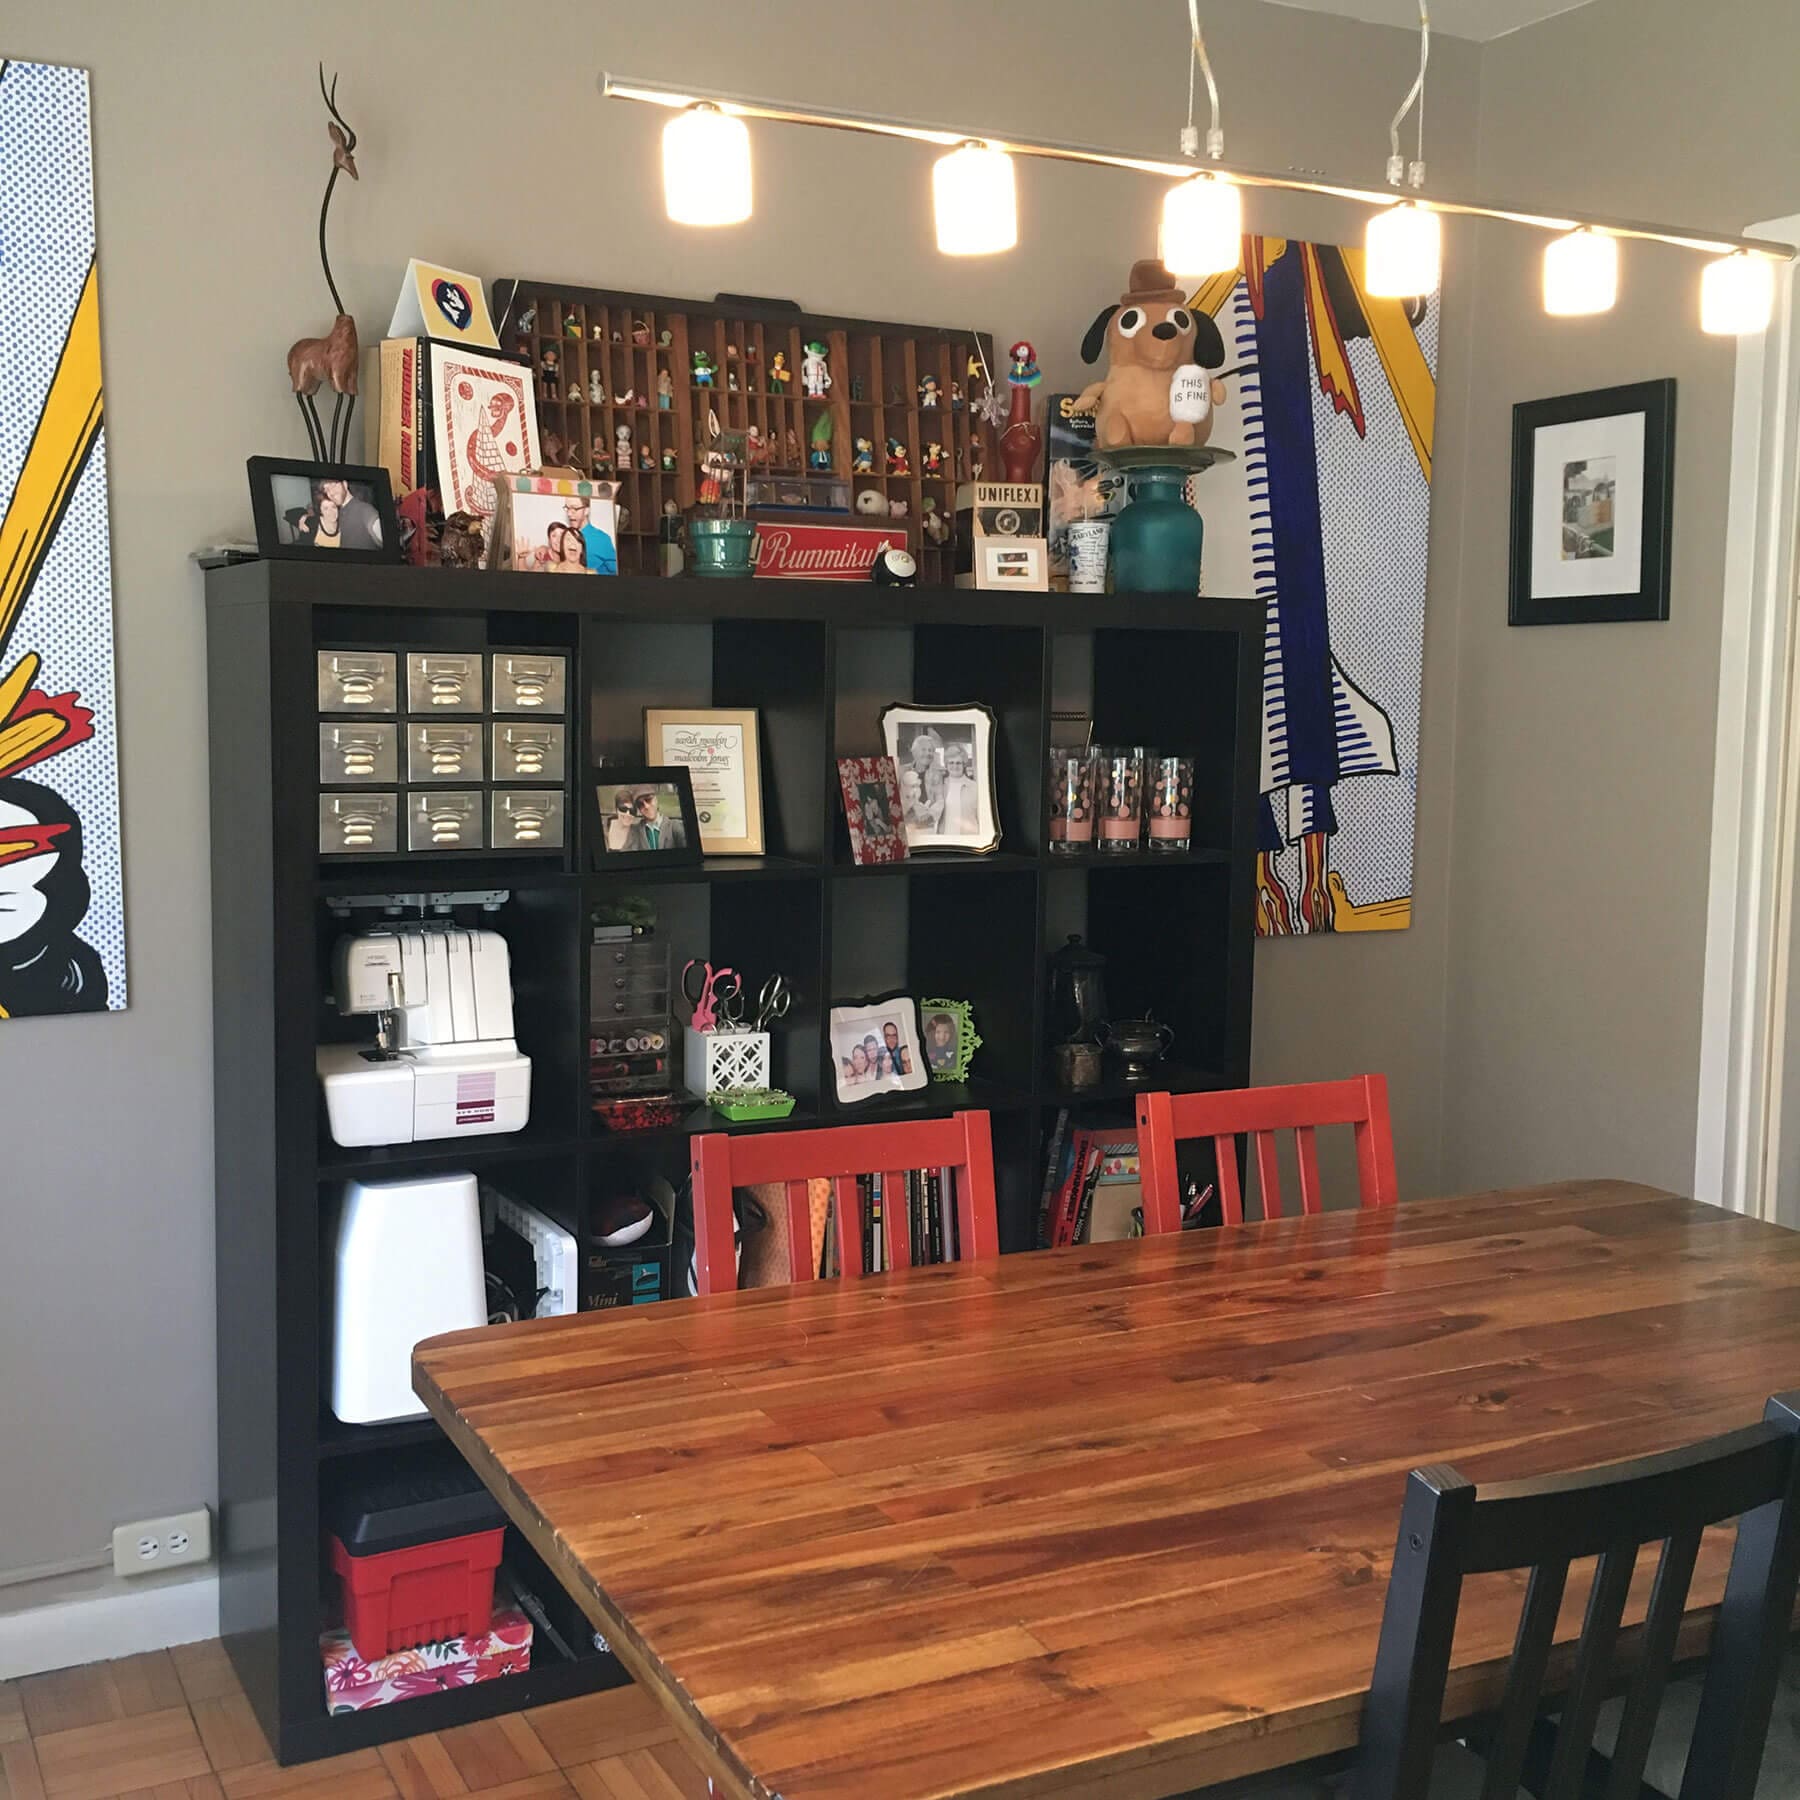
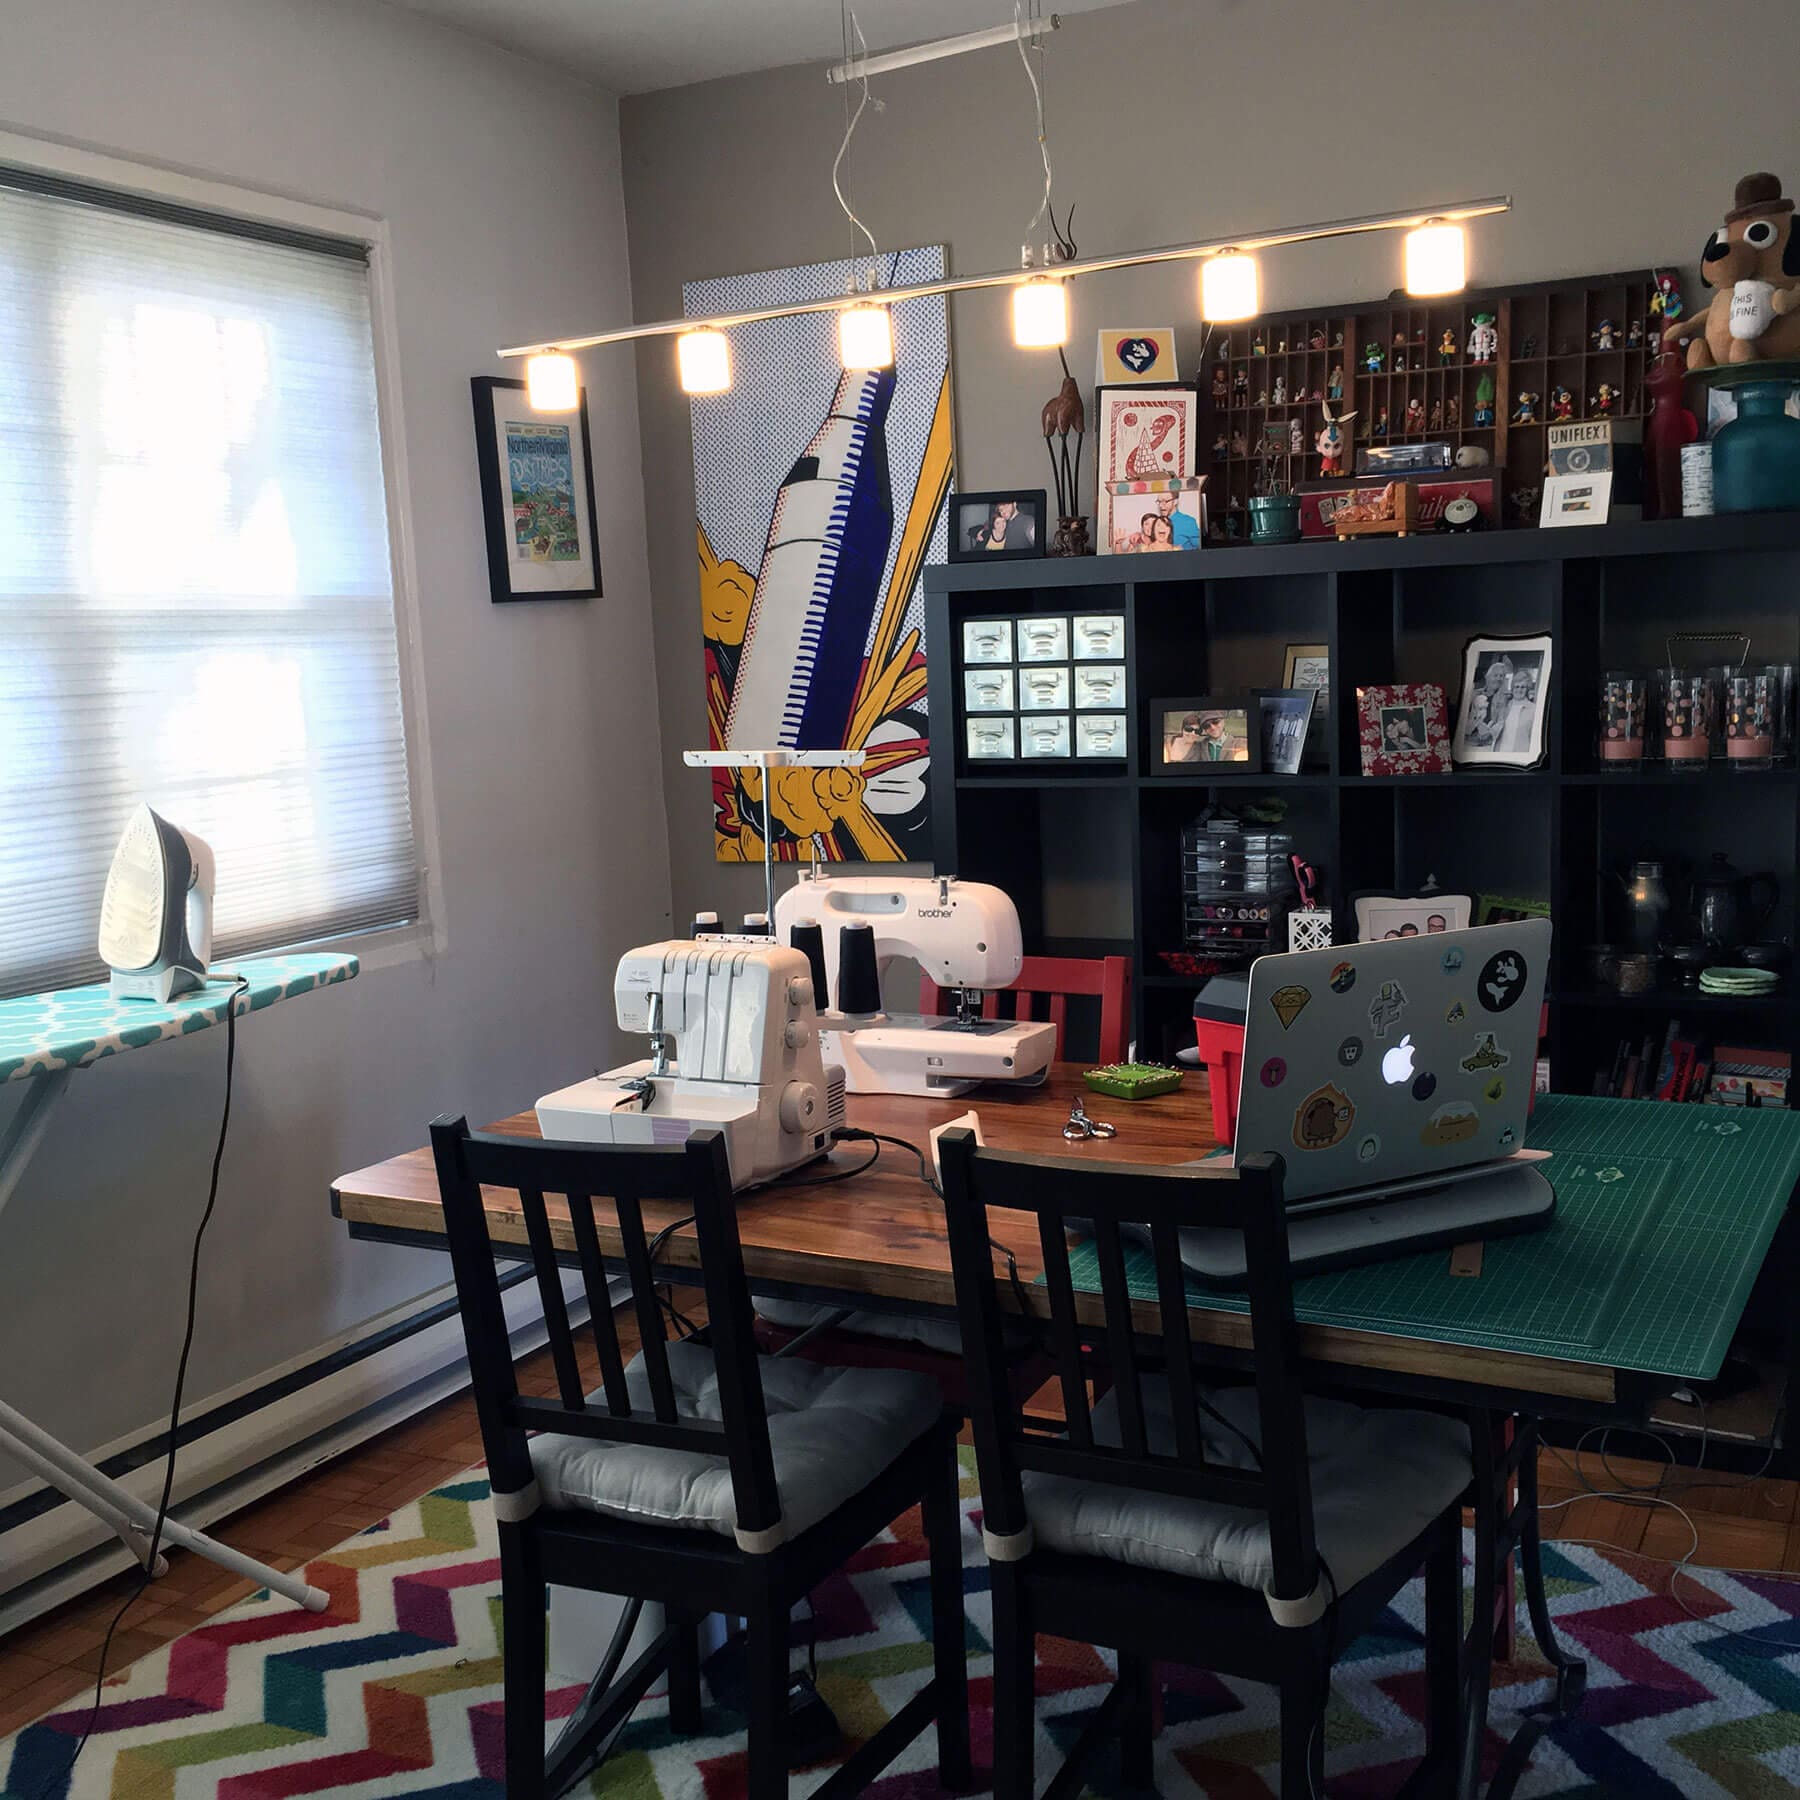
We live in a small townhouse, and while we have an extra bedroom it’s dedicated to our business. My only usable space for crafting/sewing is the dining room table. Our dining room and living room are attached, so a bonus for this is I can binge crappy TV with Mal while I work. We also already had an IKEA expedit cabinet in the dining area, so I took over half the cubes for my supplies. I’m highly organized about my supplies, which means I can get everything out and set up to work in about 5 minutes, and putting it all away takes about the same amount of time. I actually timed this.
I have similarly organized supplies for my bookmaking, but I do that far less often so I’ll focus on sewing for this post. When I want to sew, I put my machine on the table (and the serger across from it if I’m using it), plug it in, pull out my toolbox, pop up the ironing board and plug in the iron, and pull out the project ziploc that I’ve already cut and prepped. It really isn’t much effort.
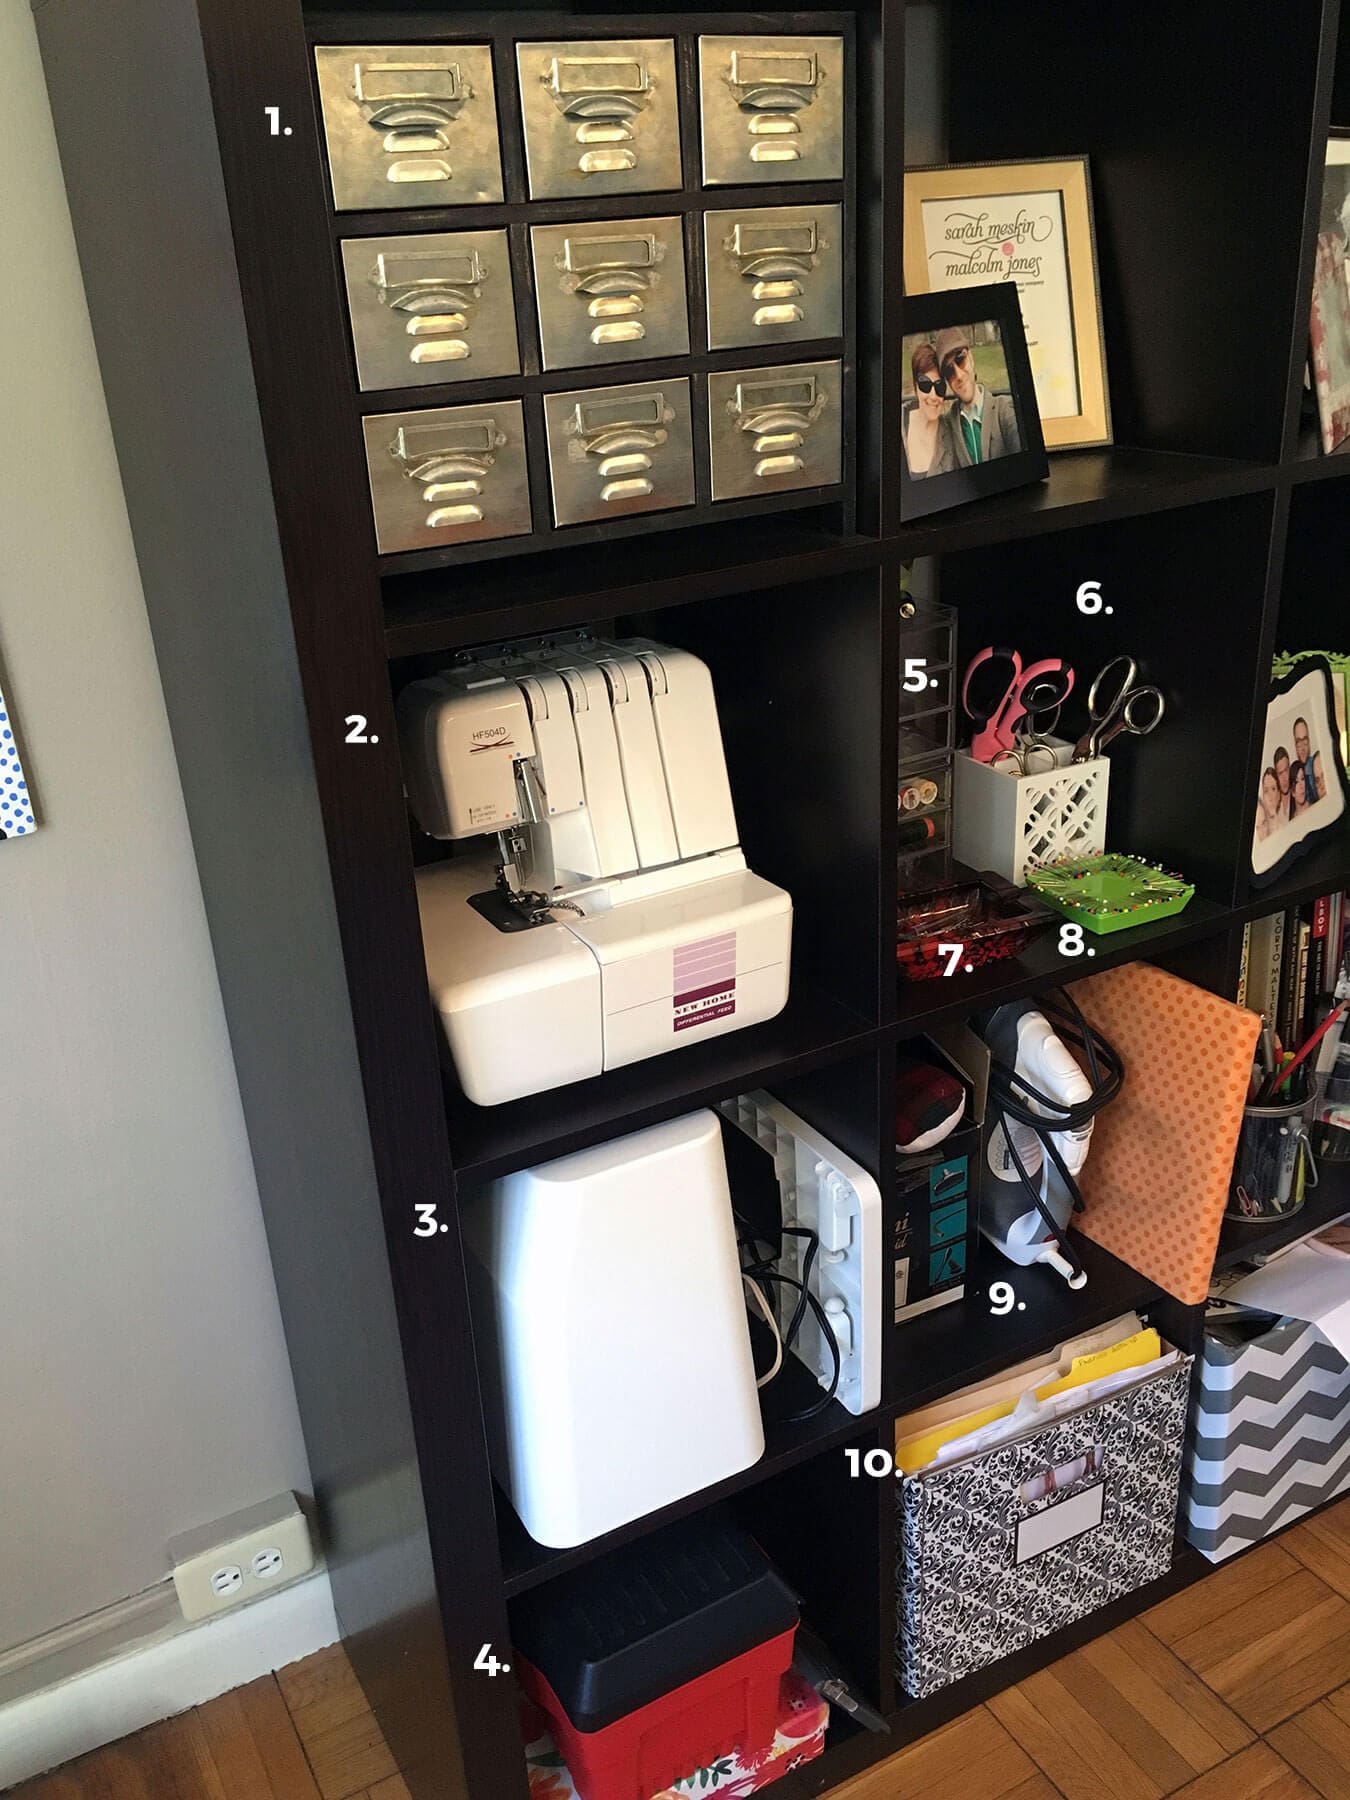
A breakdown of the cubes!
- Tiny drawers that I use for storing odds and ends like buttons, twill tape, elastic, seam tape, etc.
- The serger.
- The sewing machine.
- Art bin and a storage box filled with serger thread.
- Two sets of stackable clear mini-drawers for thread and needles. On top of the drawers I usually throw odds and ends like my seam ripper so it’s easy to reach.
- A four-compartment pencil cup that I stuffed batting in and store my scissors in.
- Ball point pins in an ashtray.
- Regular pins on a magnetic holder.
- Iron, ironing accessories, and the mini vac I use to clean the serger.
- File box of patterns I’ll make again and want handy. All other patterns have been archived elsewhere. I also keep in-progress projects in ziplocs in here.
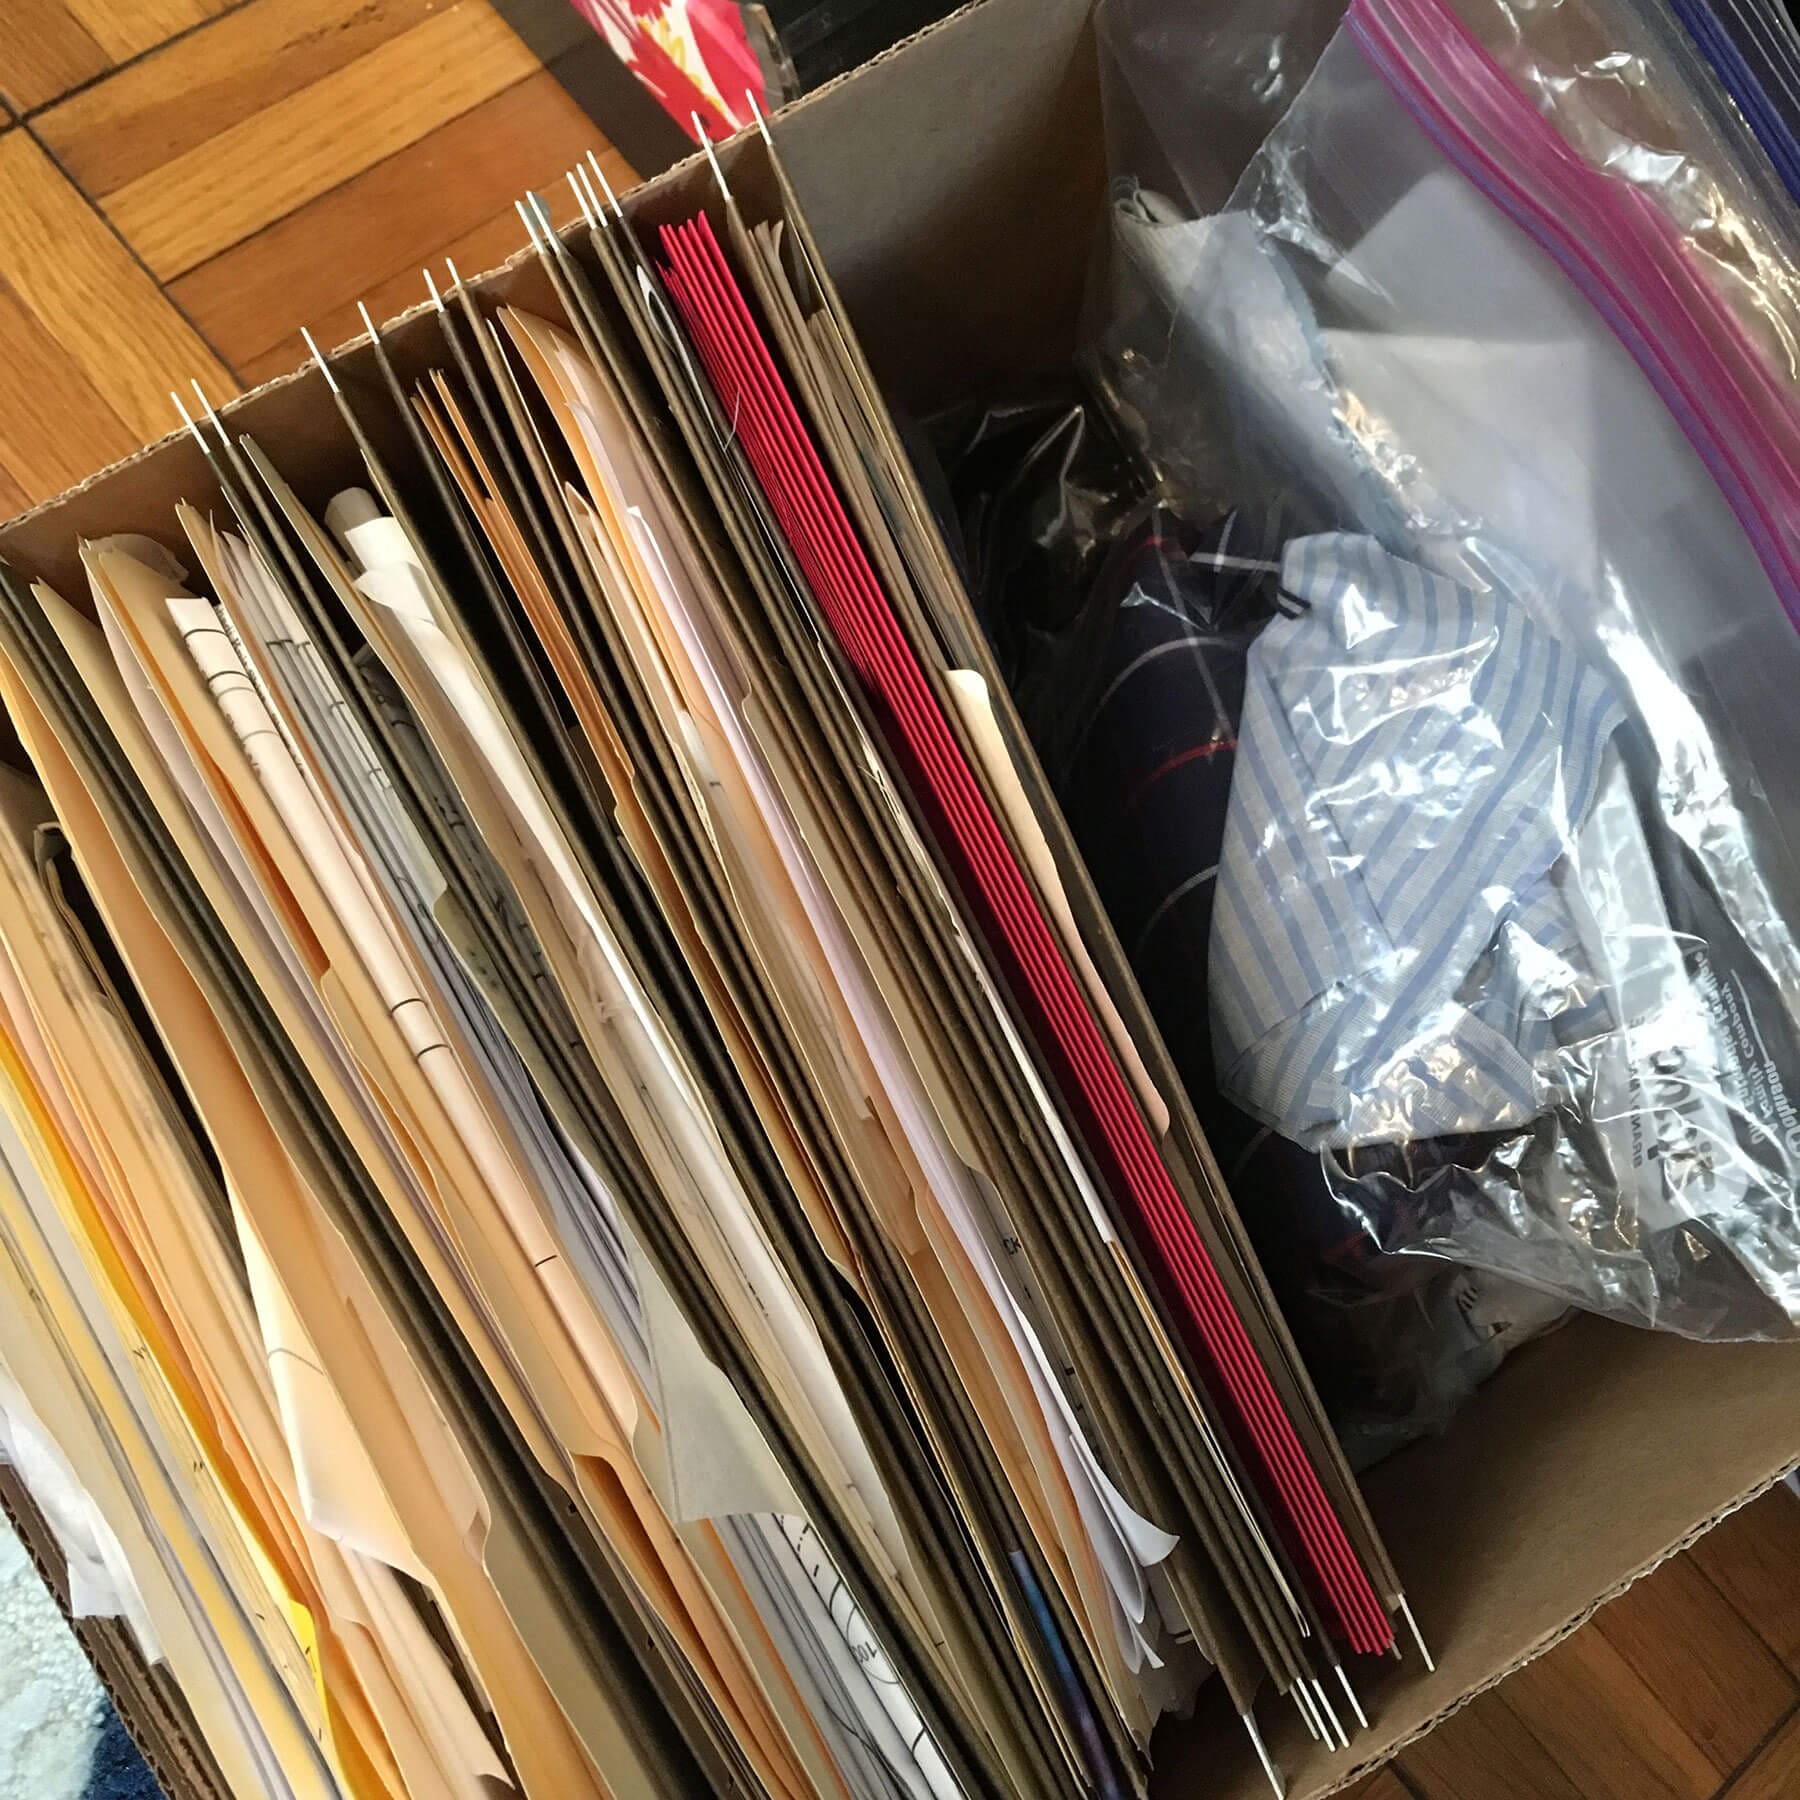
Next up is fabric storage and cutting mats. I try not to keep a huge stash because it makes me crazy (not only from lack of storage but because it just feels like wasted money to me), so if it doesn’t fit in one of these areas I need to stash bust ASAP.
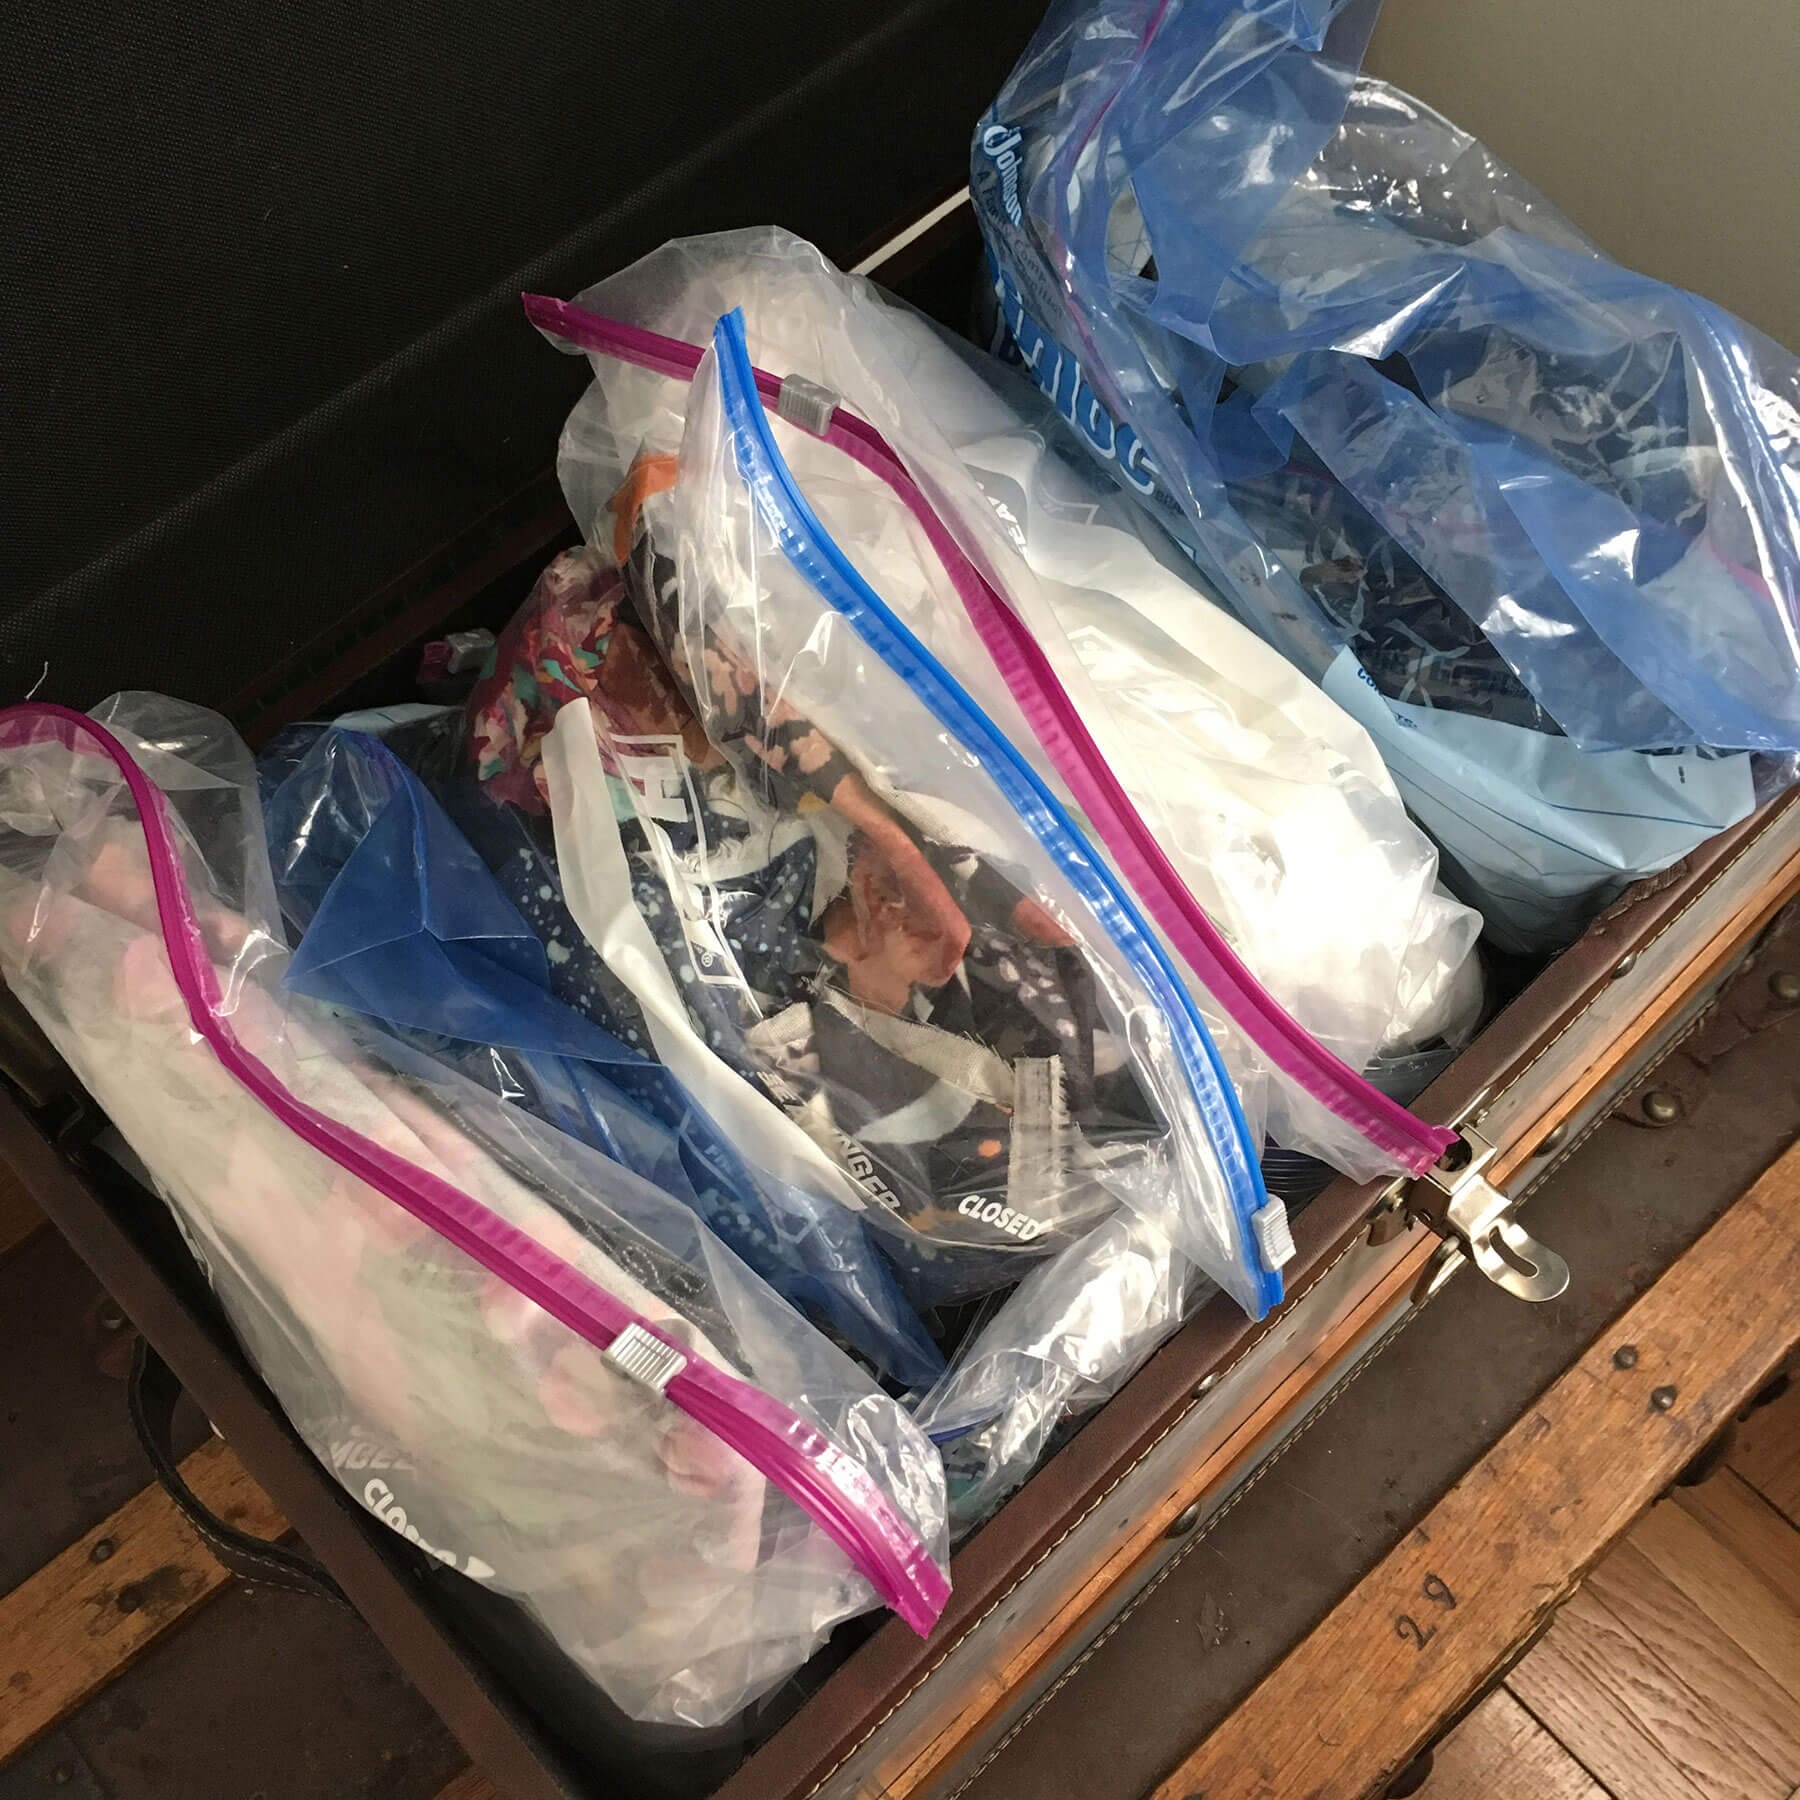
In the corner of the living room is a stack of 3 trunks. The antique one on the bottom is non-sewing related supplies. The two silver chests above it are all fabric, and if I’m good about rolling/folding I can fit a shocking amount in these. The small chest is where I keep interfacing and similar materials, the larger one is fabric, folded neatly into jumbo ziplocs and sorted by type. I store my cutting mats behind these so they stay upright and don’t curve, and my quilting ruler too. I also usually keep my tracing paper back there. I have a tall chest in my bedroom where overflow fabric lives. I could see how it would be nice to have all the fabric on shelves and easy to browse through, but that’s what I built my handy Stash section for.

We’re looking to move to a bigger place next year so I might get a dedicated sewing space, but this has been totally workable for nearly 2 years now!
