In October I talked about the potential I saw in the lifestyle crafts letterpress, and I was right.
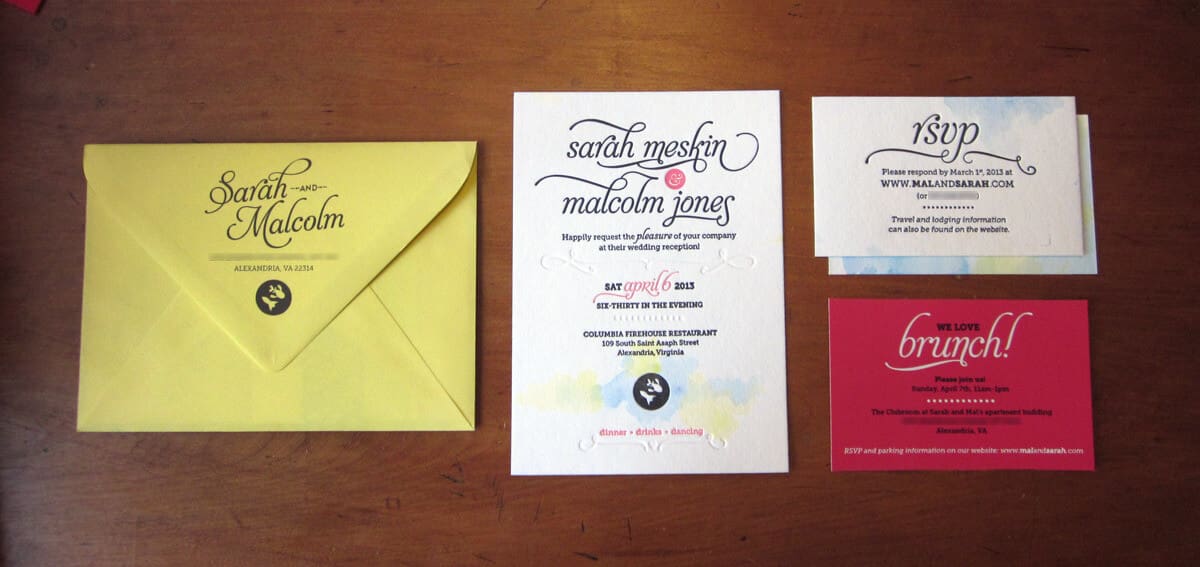
We ended up letterpressing the invitations and RSVP cards. We knew there might be some other pieces we’d want to include but they were secondary. We set up a digital RSVP system (more on that later), so there was only minimal information on the RSVP card.
Here are the vendors we went with:
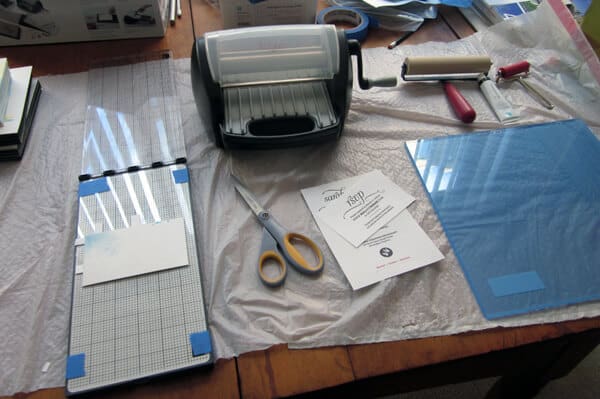
Press: The L-Letterpress kit on an Epic 6 from Lifestyle Crafts (looks like this might be discontinued but they have a new option on their site)
Paper: 140# A7 painted edge cards from Holyoke Fine Papers
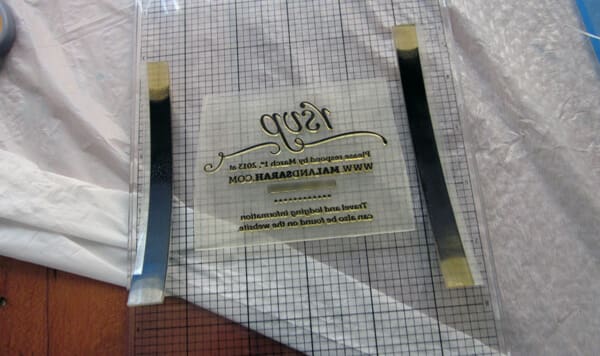
Platemaking: Boxcar Press
Ink: Lifestyle crafts
Brayer: Speedball 6” soft rubber brayer
Inking plate: 12” square plexiglass
Cleanup: grapeseed oil and cleansing wipes
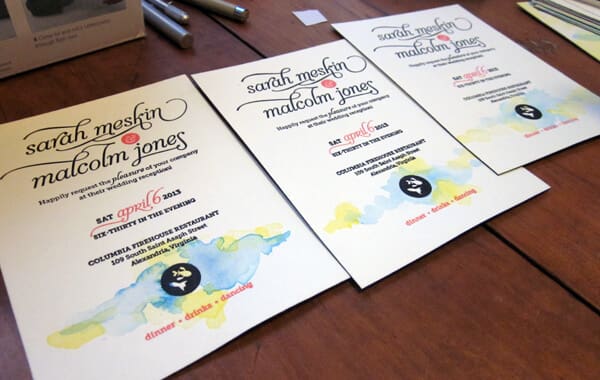
First up: Designing the invitations. I mainly handled this with input from Malcolm as I worked.

I designed it in illustrator and mocked it up in photoshop with some watercolor effects from Mal. Check out that fake photoshop blind emboss!
Ordering plates from boxcar was a breeze.

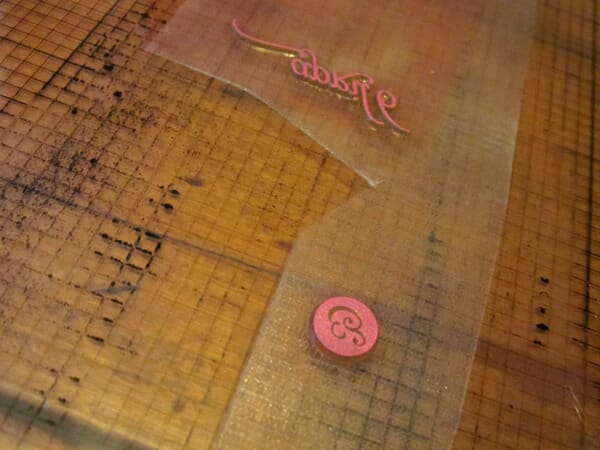
I split the design into the three plates (black, pink, and blind) and added a few elements I thought we might want at some point. The RSVP card only had one color. It’s useful to use as much space as you can since they charge by the inch. Turnaround and delivery were amazingly fast and the quality of the plates was fantastic.
While I was working on this – Malcolm was working away painting all the RSVP cards and invitations.

The printing actually turned out to be a lot less painful than I expected. Mal and I teamed up and got it all done in about 6 hours split over 2 days (the 2 colors/1 blind for the invitations and the 1 color rsvp card). We ended up printing about 45 cards to get 38 or so good prints.
The ink from Lifestyle Crafts wasn’t the best, but the tubes are small and I didn’t want to get stuck with a lot of extra ink. The black was actually fine but the pink was too thin. I could have thickened it up but I was impatient so we just powered through. We found that we had to clean the plates, roller, and plexi every 8-10 prints, maybe a bit more frequently for the pink.
Overall – I’d recommend the L-Letterpress for small runs, especially when doing multiple colors. It was perfect for what we needed it for, and it definitely got me remotivated to take some more letterpress and printing workshops.
